At work we received a couple of
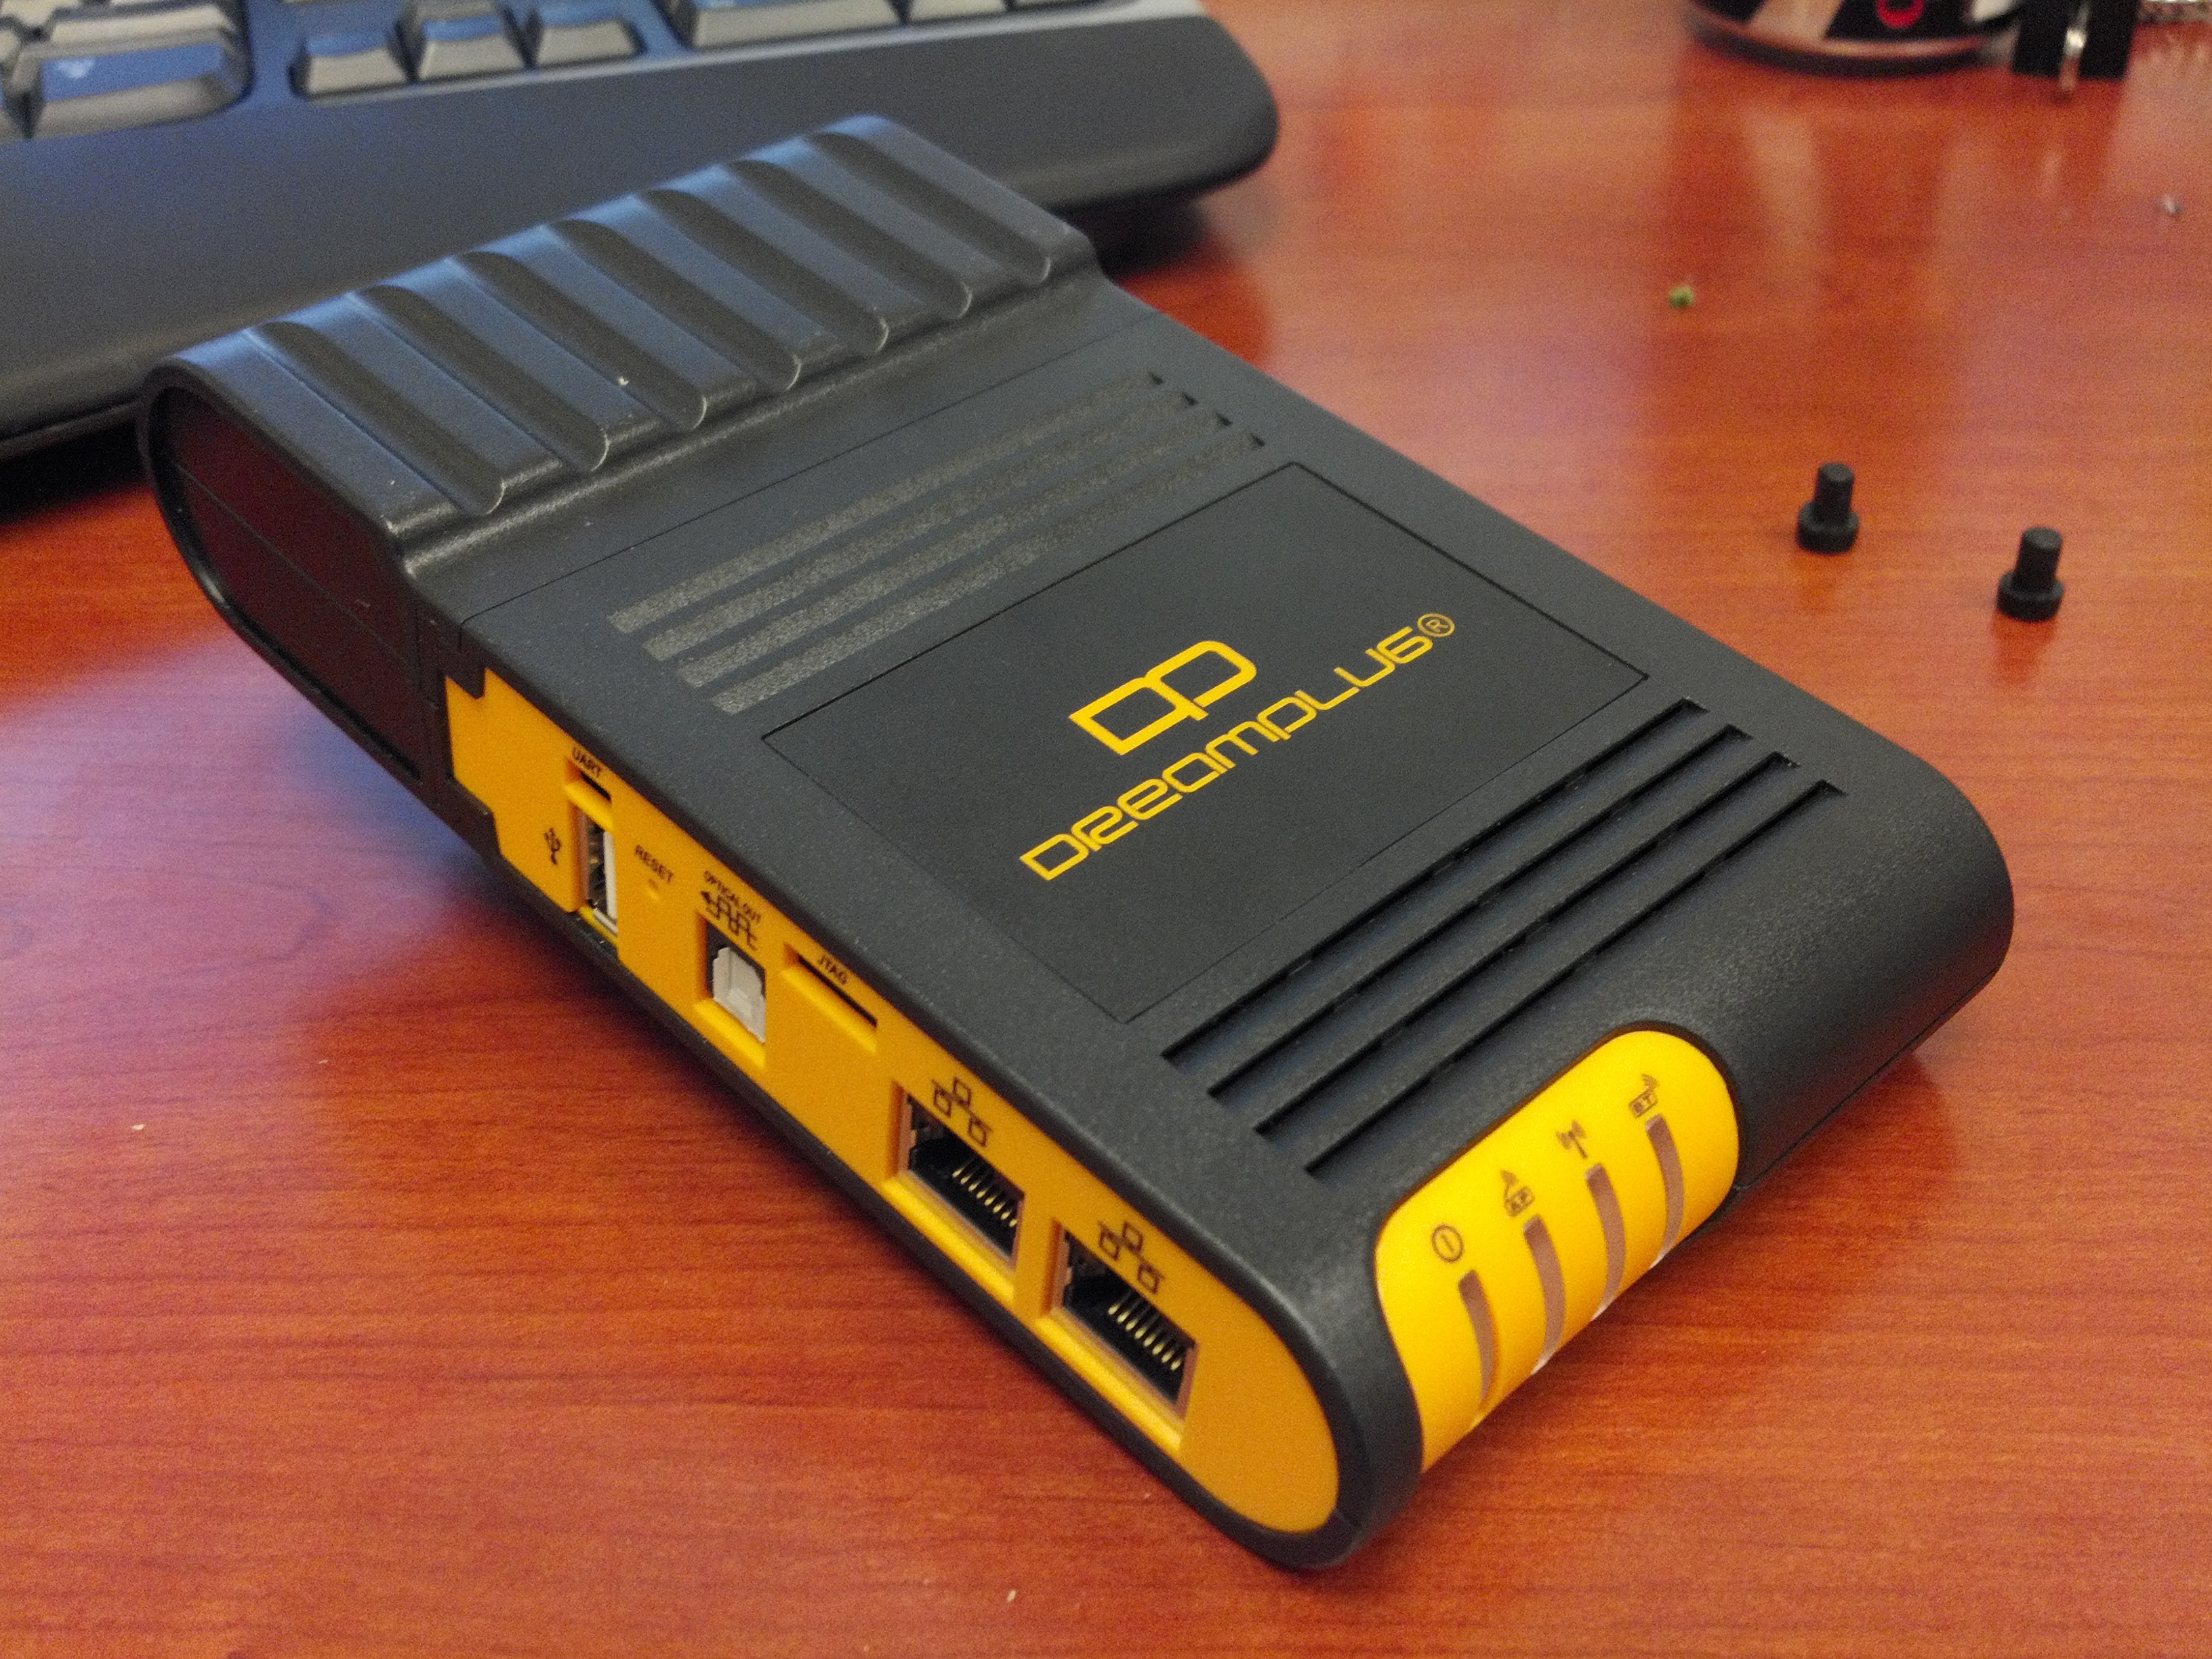
Globalscale DreamPlug (Model: 003-DS2001) units for a research project of mine. These are nifty little plug based computers with an impressive array of features for their form factor, including: 1.2 GHz CPU, 512MB RAM, onboard 4GB MicroSD, Dual Gigabit NIC, 802.11b/g/n WiFi and bluetooth. Of course, as soon as I got the device in, I decided to take it apart (officially so I could check the MicroSD card replacability, if anyone at work asks). I took pictures of the process, so here’s the guide!
Warning: There is a warranty sticker on the power supply side of your DreamPlug. Taking things apart generally voids any warranty. Also, if you screw it up and break your DreamPlug, it’s not my fault.
== Disassembly ==
- Step 1 — Remove the power supply.
- Step 2 — Remove the rubber feet — Just grab them and wiggle a bit, they’ll pull straight out.
- Step 3 — Remove the screws — Use a small Philips screw drivers to undo the screw at the bottom of each foot well.
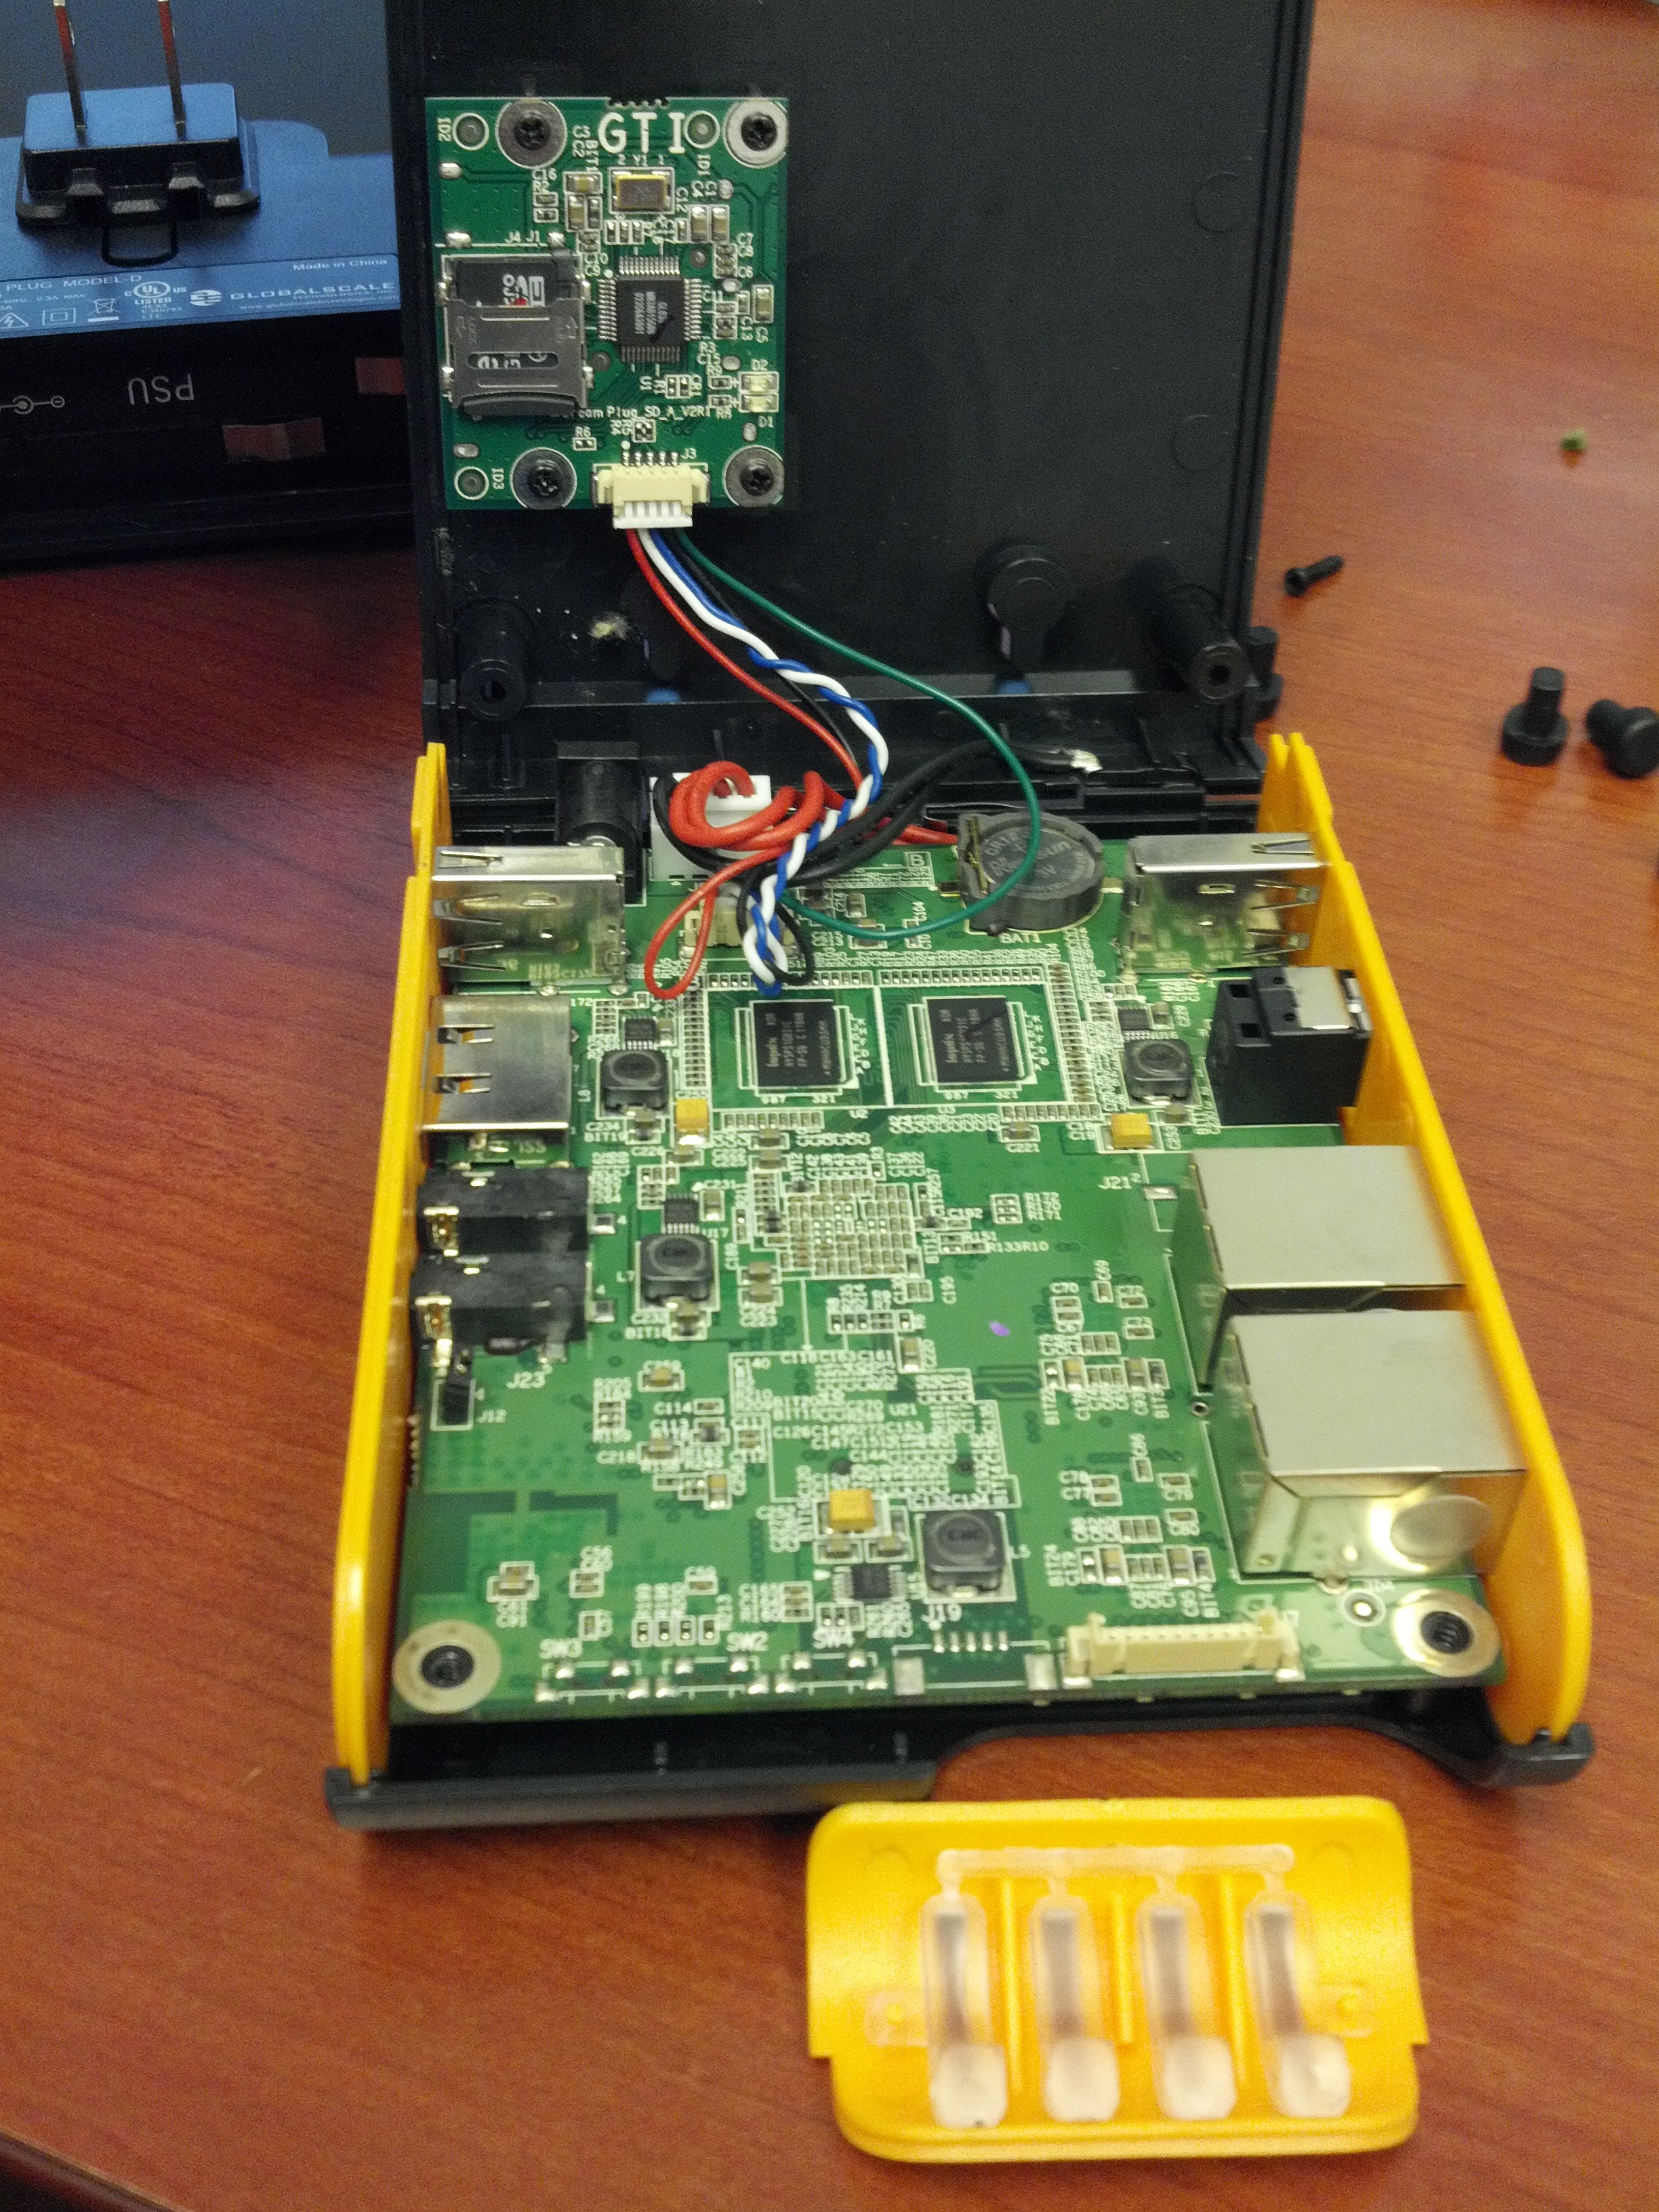
- Step 4 — Gently pry the case apart — Mine basically popped right apart (and the LED indicator panel fell right out).
- Step 5 (Optional) — Gently pull the board away from the top case — Nothing is really holding the board to the top half of the case, so if you simply hold the outside of the board and pull up, it’ll come right off.
== Reassembly ==
Reassembly is simply following the dis-assembly instructions in reverse. I do have a few tips & warnings though:
- If you removed the board from the top of the case, make sure the holes on the board fit back onto the pegs it rested on.
- If you removed the orange side covers, they will need a little wiggling to get back on. Also make sure that you get them slotted back into the top & bottom covers (there is a little groove all the way around both halves of the case).
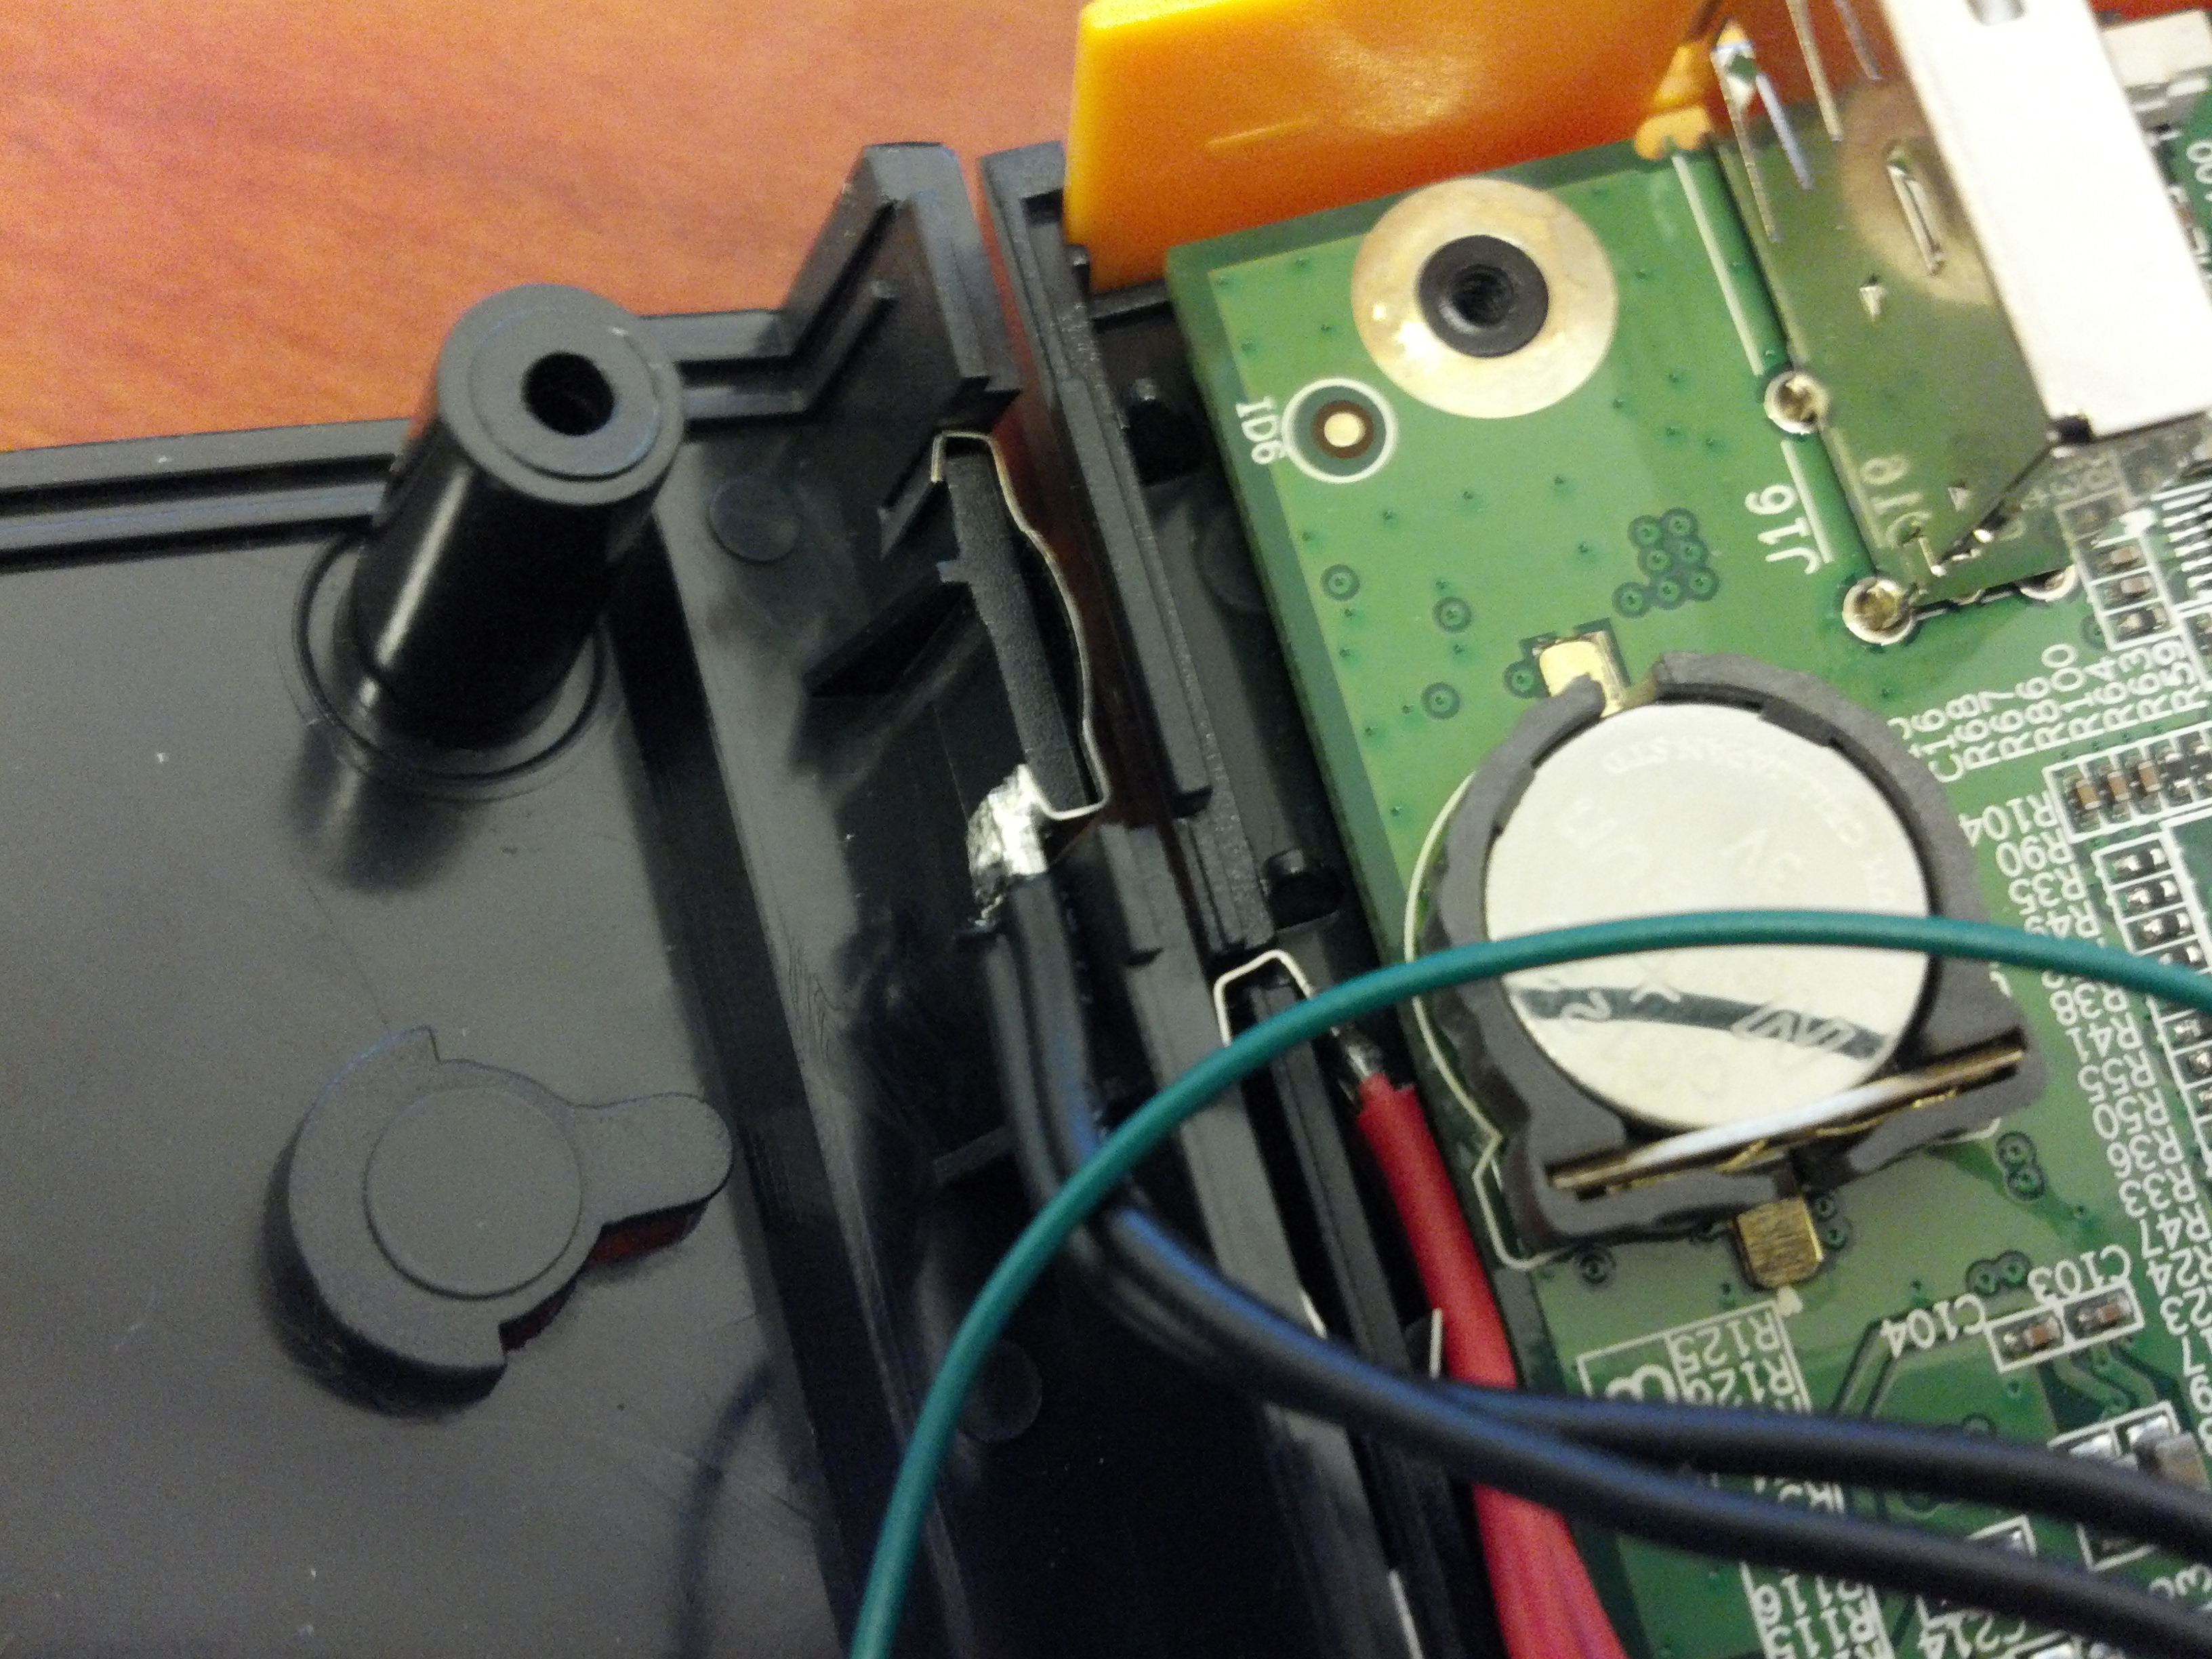
- Check to make sure the power supply contacts (the shiny metal bits with red & black wires) are back in place. When I removed the board from the top case, my red contact came off.
- The rubber feet are not identical. 2 of them are round and 2 have corners cut out. The round ones fit into the holes closest to the power supply.
Good luck!
== Pictures ==
-

- The DreamPlug
-

- Step 2 — Lil wiggle and the feet come up
-

- Feet go here
-

- Step 3 — Remove screw from foot holes
-

- Step 4 — The case comes open
-

- Onboard MicroSD
-

- Top of the mainboard
-

- Beware the loose power connections
-

- Optional Step 5 — The board comes up
-

- Heat sink material
-

- Bottom of the mainboard
-

- Dream Plug V9R1
-

- Size — Side by Side with a coke
-

- Size — Side by Side with a stapler