So you’ve decided you wanted to get into 3D Printing, you’ve possibly even picked out and purchased a printer. You’re good to go, right? Well, not quite. Like any fun hobby, turns out there are more than a few things to getting started than you might have realized. Some of these pitfalls might not catch up to you for a while but since I’m learning the hard way, I thought I’d share all the knowledge I could up front.
These items are in no particular order and may or may not be applicable to your specific situation:
Proper Filament Storage
PLA is made of corn and other plant stuff, as we’ve previously discussed. What happens when your corn flakes get left out in the open? They go stale. Well, turns out that PLA has a similar issue (though its a slower process than cereal). The material is what is technically called
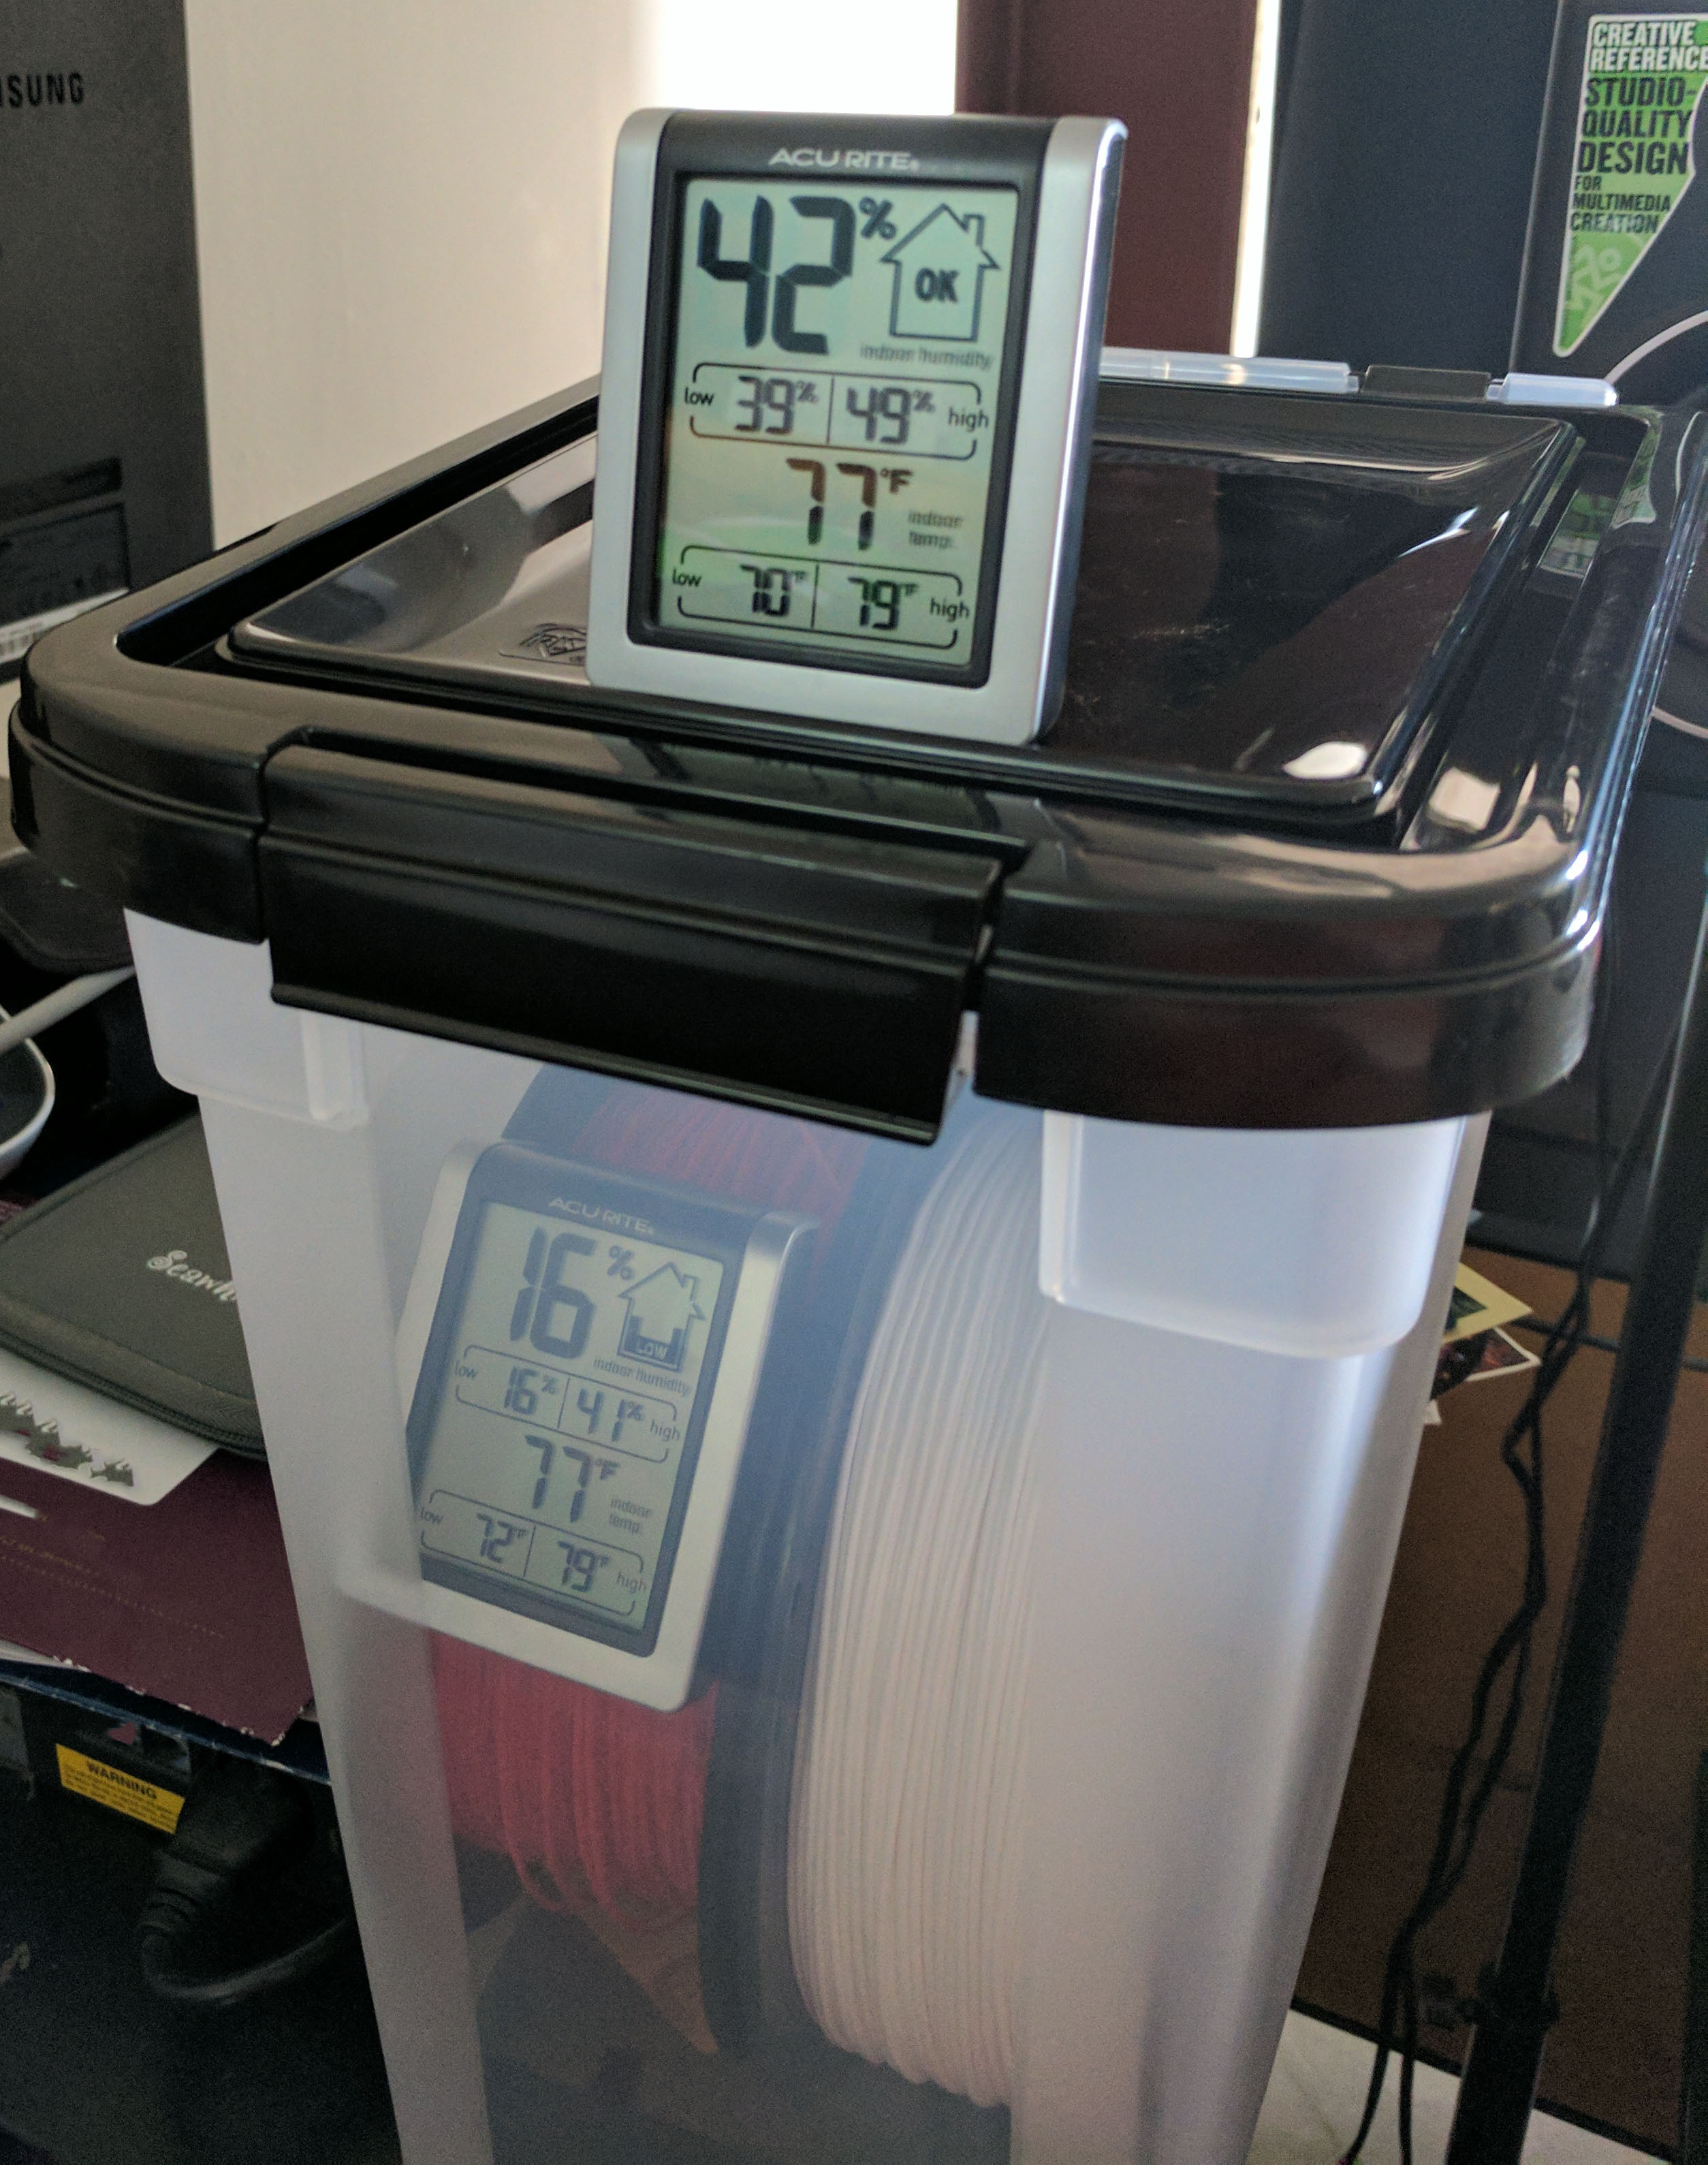
hygroscopic meaning that it absorbs water from the air. This is why PLA (and most filaments) ship in vacuum sealed bags with desiccant packs. So if you don’t plan on printing your entire 1 KG spool very quickly, you should plan on storing it in an air tight container with desiccant. I found 5 Pounds of Blue Desiccants on Amazon for $25 (and once it’s maxed out absorption, you can bake it back to useful) and Muslin bags to put the desiccant in. I added a few cheap temp/humidity sensors for good measure. My results are shown on the right.
Note: Other materials beyond PLA are also hygroscopic, if you buy other materials you should look up proper storage methods. Or… just store everything in the airtight containers.
What does 1 KG of PLA mean anyway?
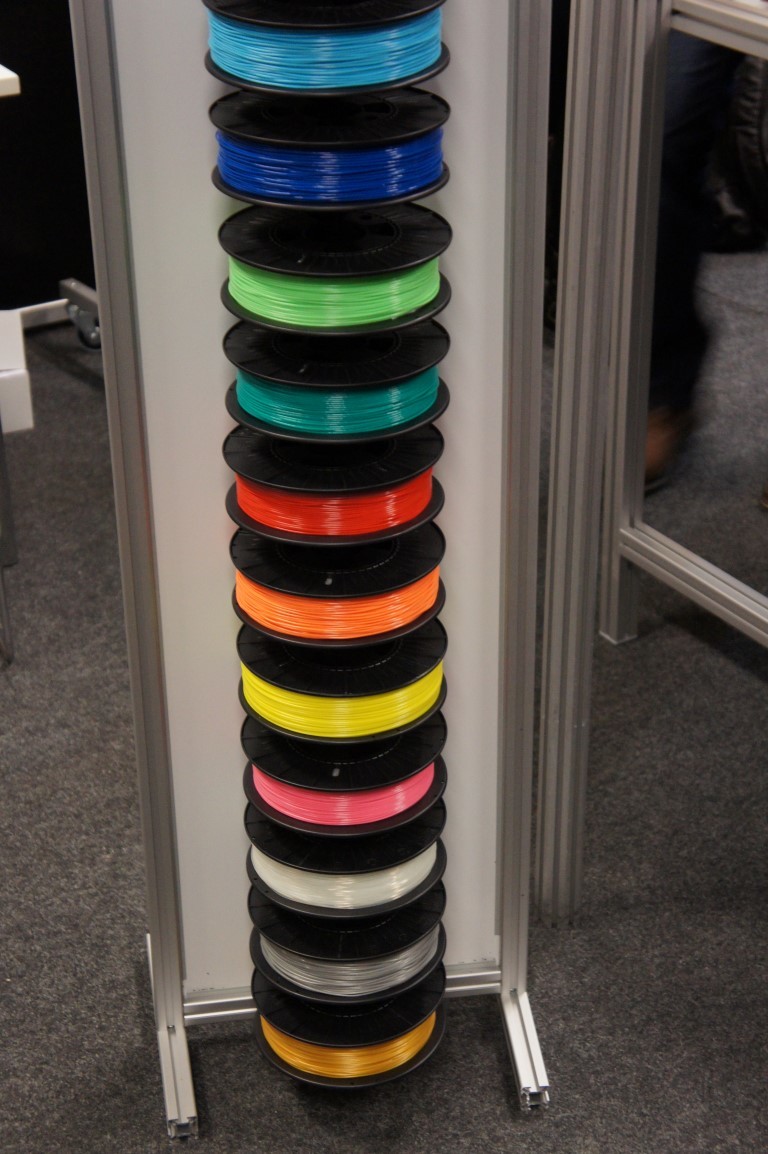
Filament ships on spools, anywhere from the 0.2 kg size to in excess of 1 kg. If you’re doing most of your shopping on Amazon and in PLA, you’ll probably see 1 KG as the most common order quantity. MakerBot printed 392 chess pieces with 1KG of PLA. A strange unit of measurement but it should give you some perspective. Keep in mind though that this is extremely variable based on what you’re printing and your infill percentage. Needless to say, 1 KG of PLA will last the casual 3D printer user a very long time… if stored properly.
Ventilation — Don’t kill yourself
Melting anything tends to release smells and chemicals. PLA prints with a slight odor of burnt corn and supposedly isn’t that bad. Melting ABS definitely isn’t that pleasant and isn’t healthy. A study a few years ago titled “
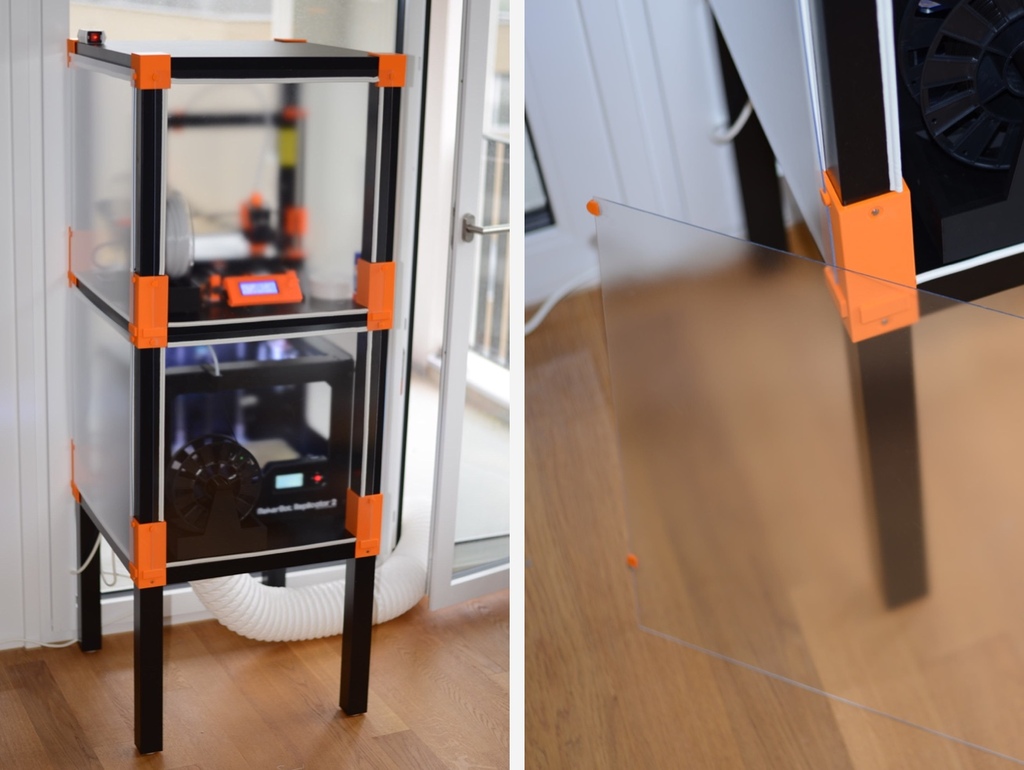
Emissions of ultrafine particles and volatile organic compounds from commercially available desktop three-dimensional printers with multiple filaments” basically says that these things should be well ventilated. You should consider putting the 3D printer in the garage or shop. You should also consider a printer enclosure of some sort with ventilation fans. What you see pictured isn’t my work, but I’ve already ordered the Ikea LACK tables and plan on building this as soon as the parts arrive.
Your printer could use some upgrades
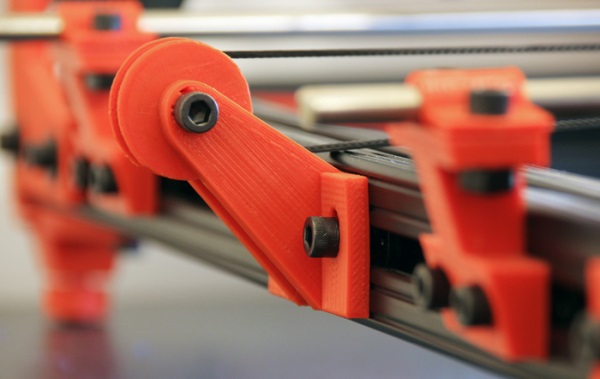
Unless you decided to shell out a grand for a 3D printer, you probably had to make some sacrifices. Some the trade-offs you made you can’t easily fix (like top end print speed) without replacing a lot of components. However some trade-offs you might have made you weren’t aware of but you just might well be able to fix them! If you haven’t already, look up the common mods for your printer, you’ll always find some cosmetic improvements, but often you’ll also find mods for tweaks such as: glass bed, improved cooling, belt tensioners, motor mounts, and various stiffeners. It seems daunting at first, but most of these things will be simple enough once you’ve got your printer. They will also require a small investment in time and money, after which you typically get significantly better prints.
Things will go wrong at random
For no apparent reason, what worked yesterday won’t work today. A 3D printer is an extremely complicated and precise device and you’re probably paying no more than what a
low-end laser (paper) printer costs. During the print proccess your might bump your printer, and/or afterwards you might bump it. A part could start to wear down slightly. Your hot end could be clogged. Your extruder could get gunked up. Fortunately there are dozens of guides on how to troubleshoot and fix common 3D print ailments — just be ready to accept you might need to toss a print or 3.
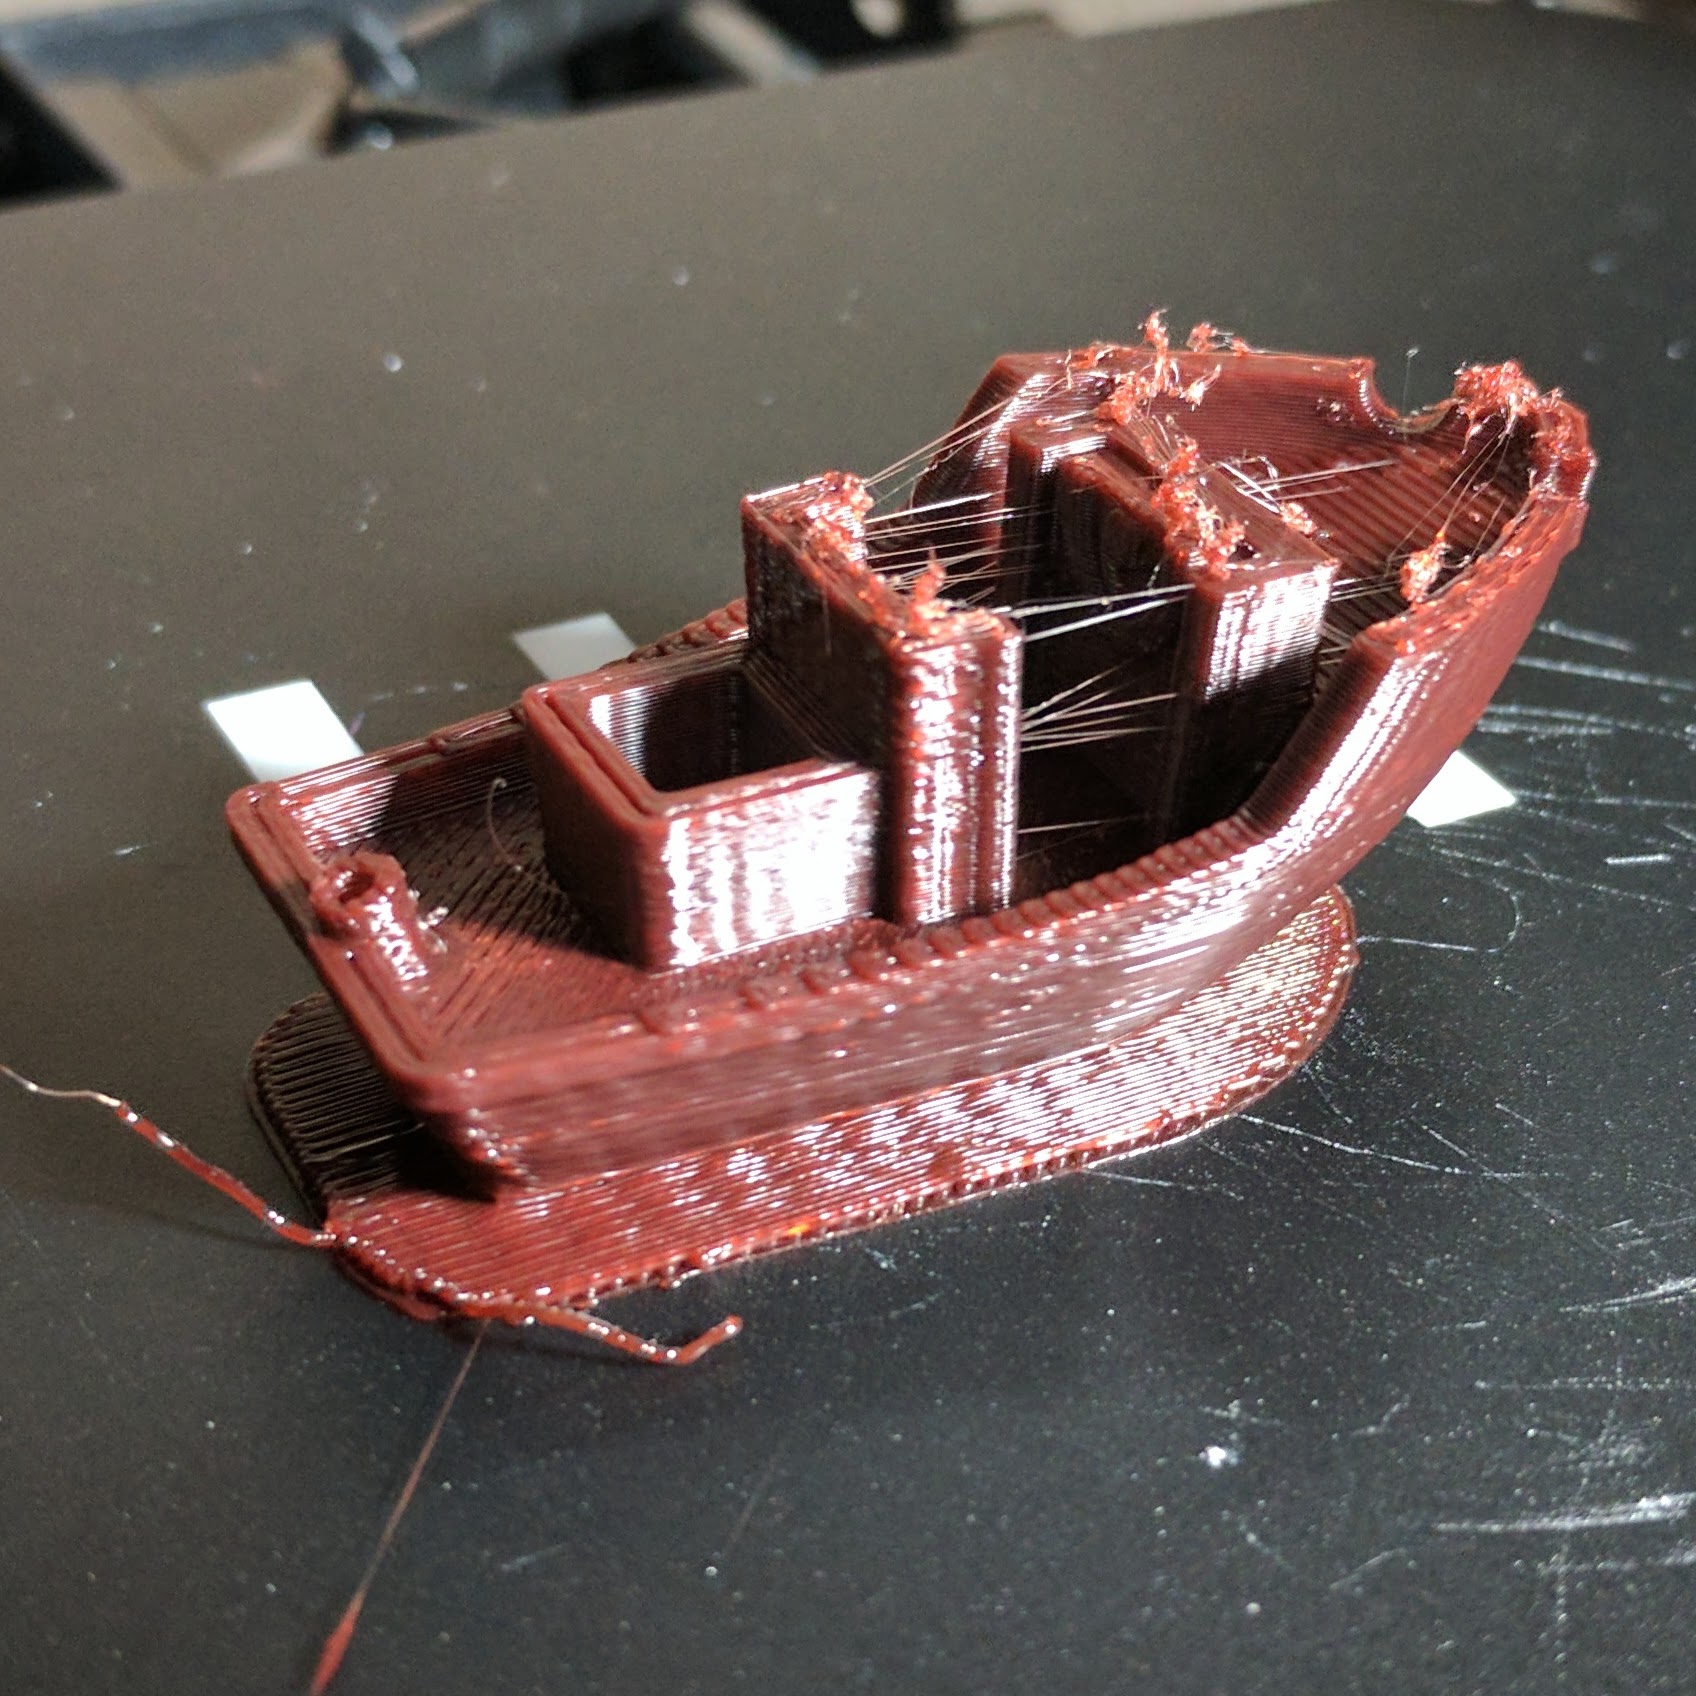
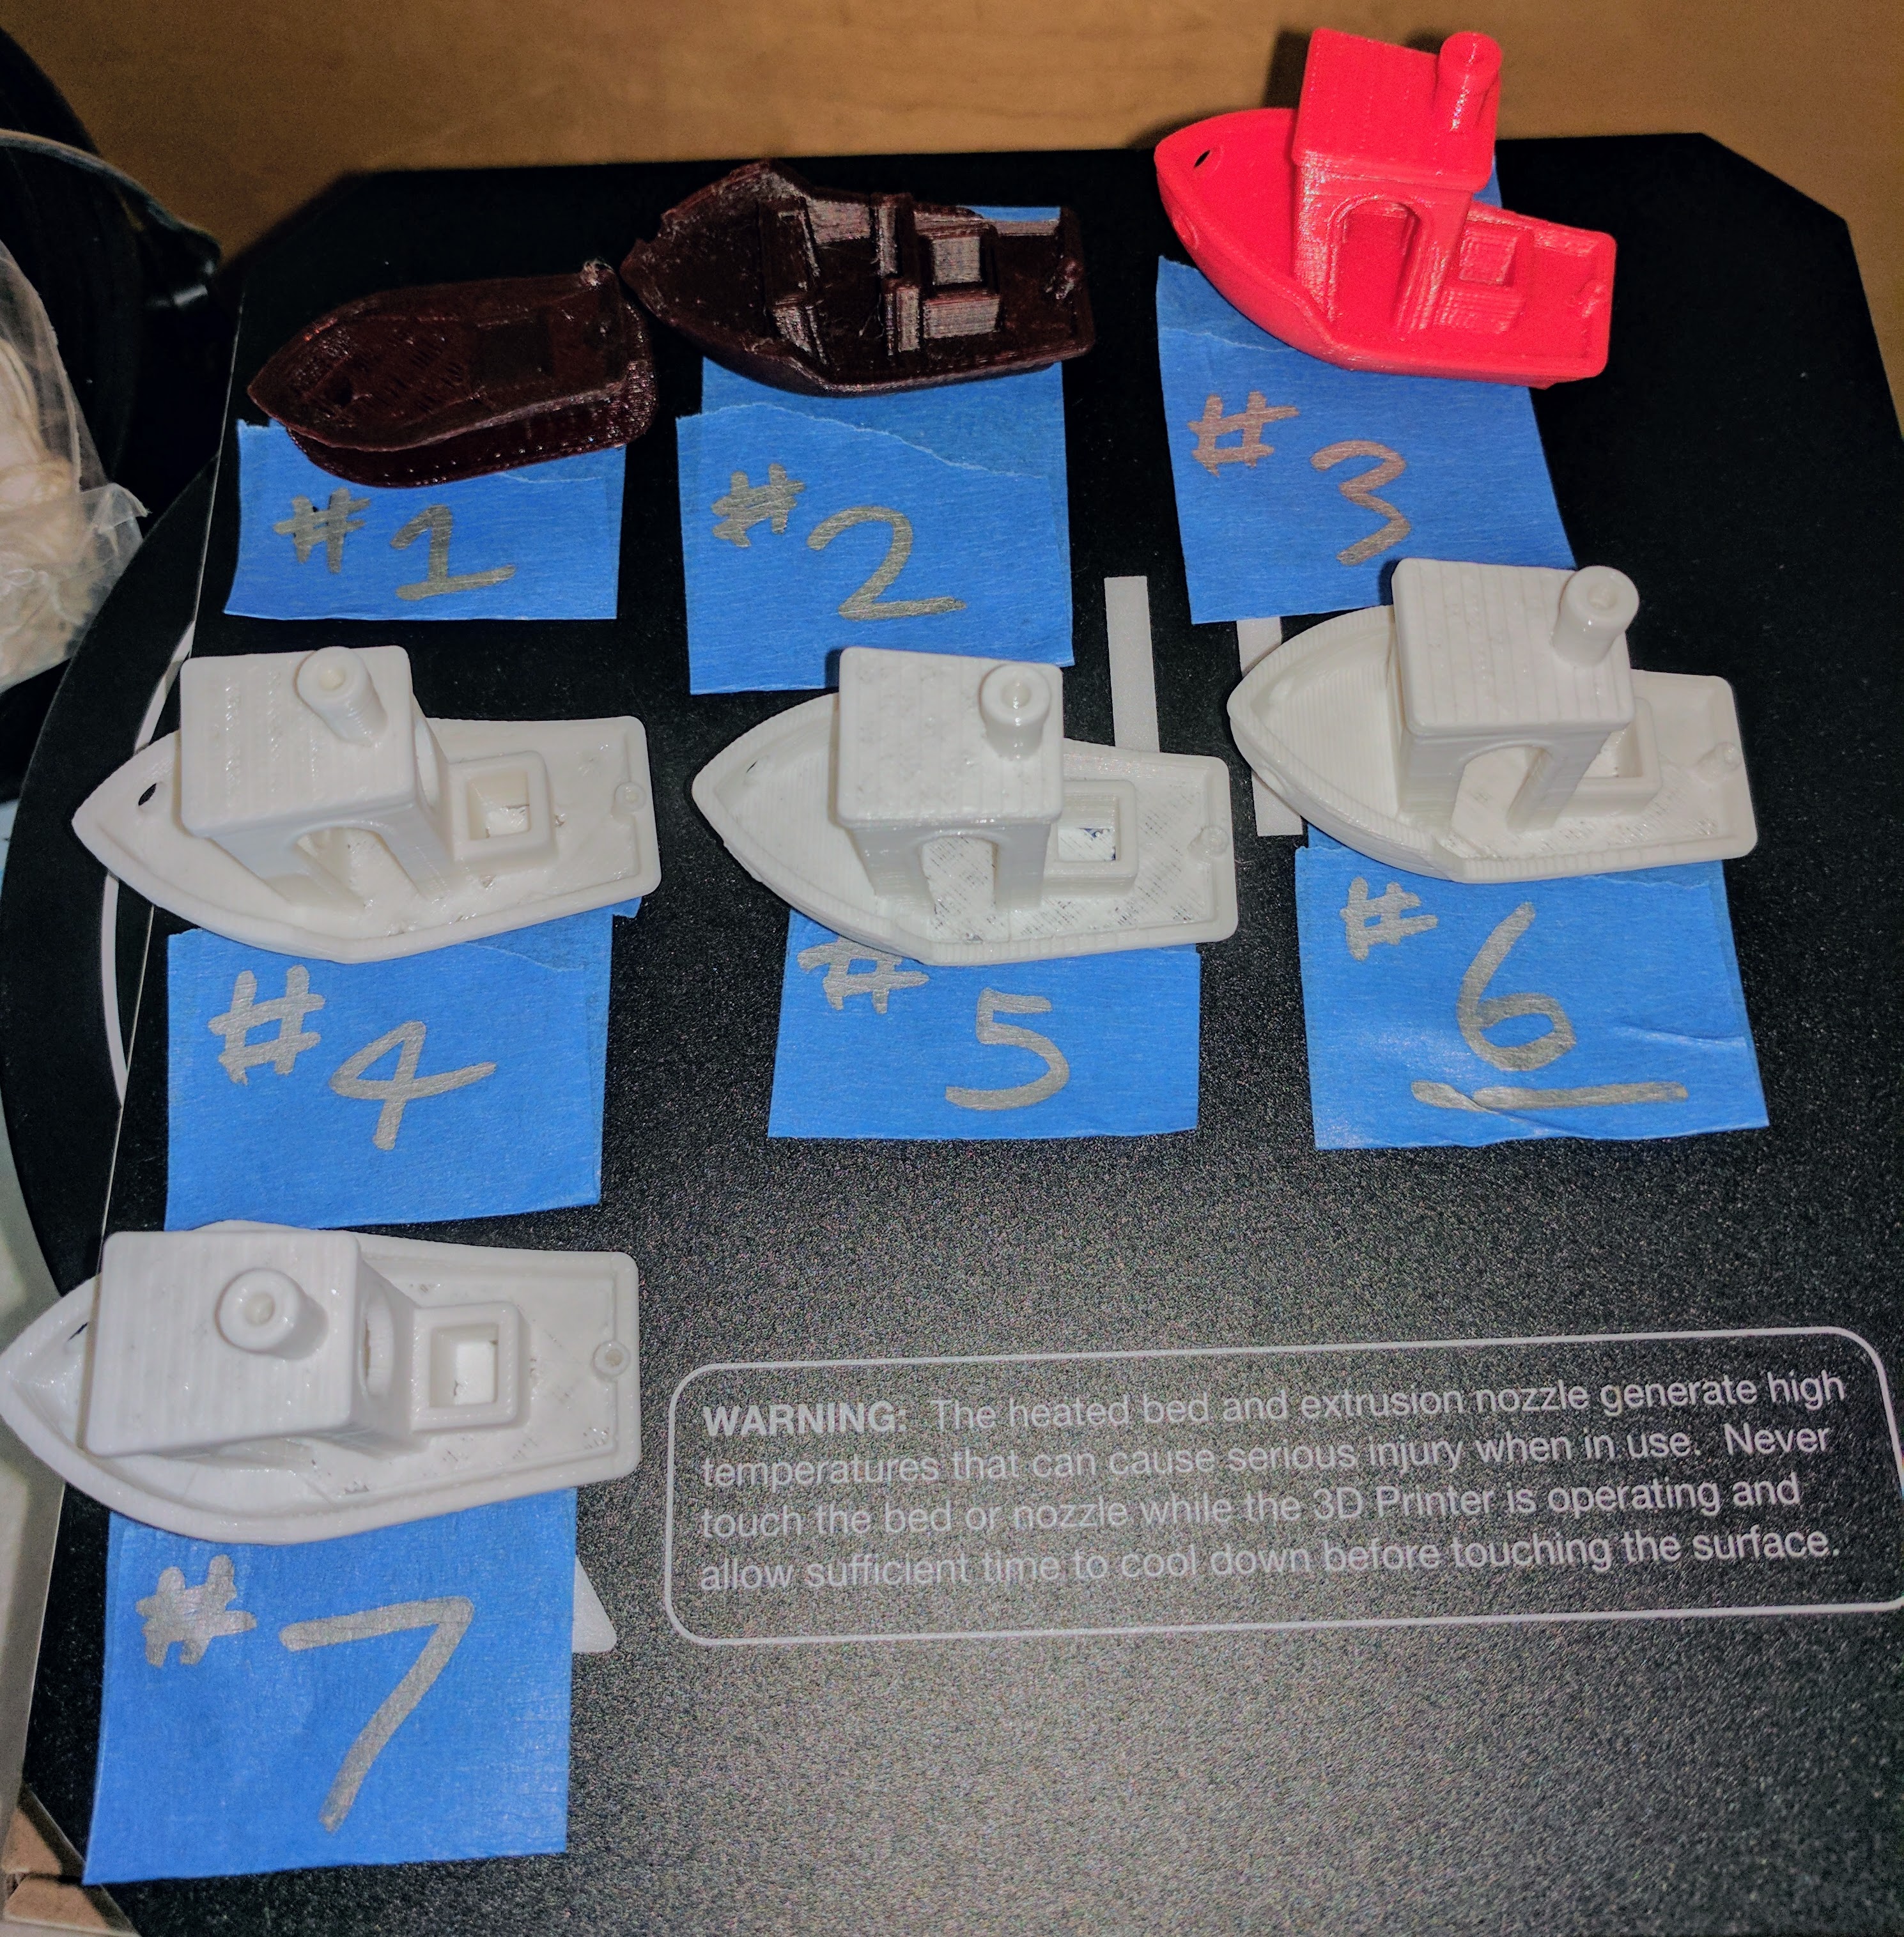
The benchy boat is the hello world or pretty graphic test page for 3D printers. It is the standard by which you judge your printer. Get used to slicing this little guy and tinkering with settings. I strongly recommend you keep a spreadsheet of your Benchy tests and the results.
You will need tool and accessories
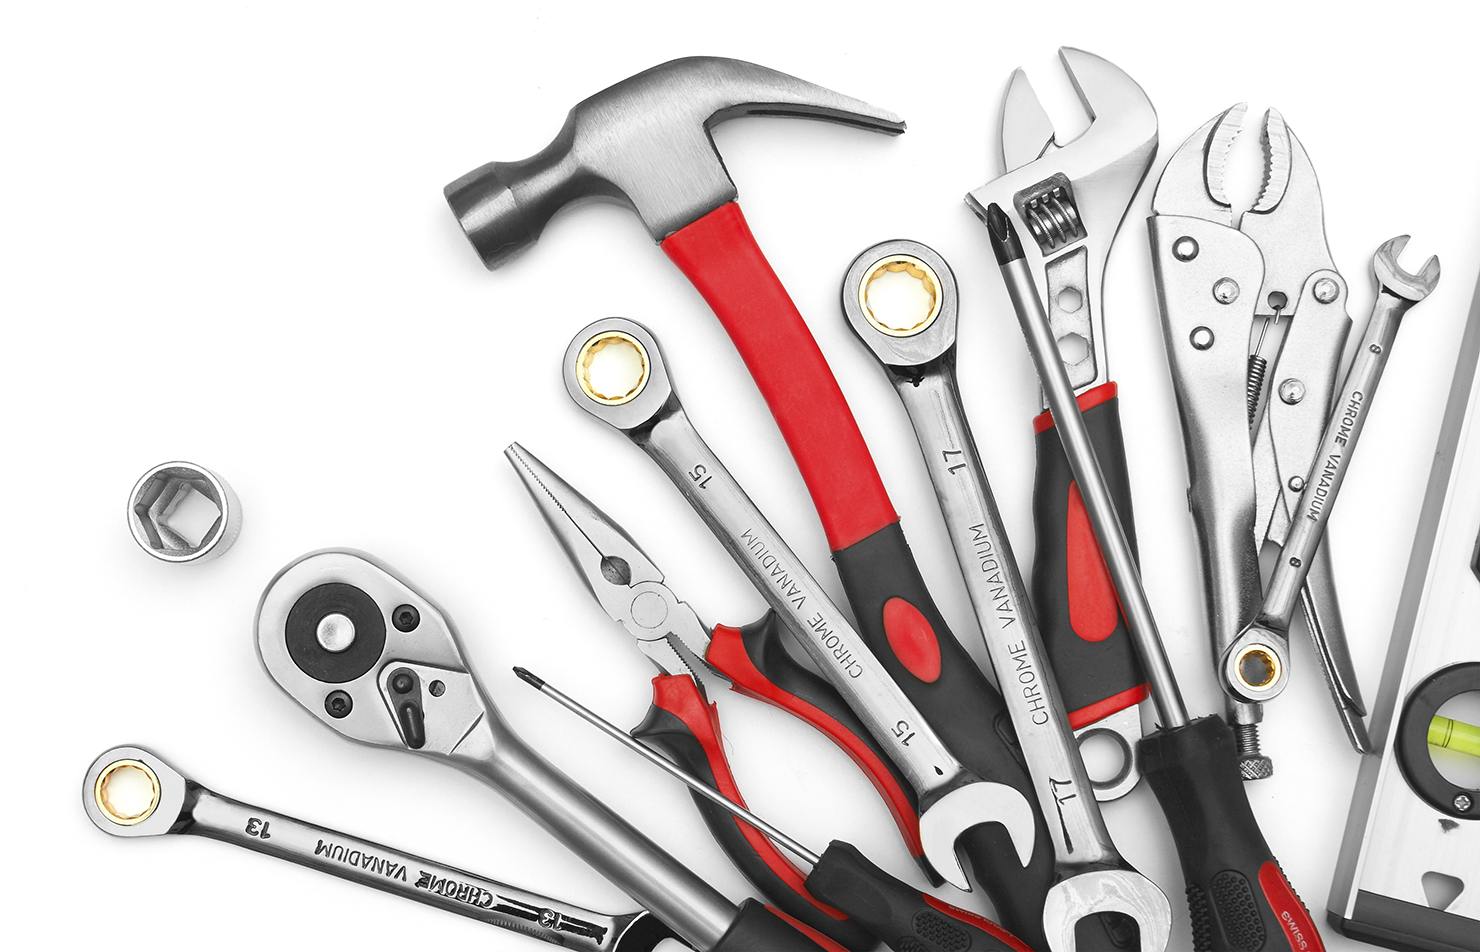
Once again, this is not a paper printer. In order to get the best quality prints (or just to make your life easier) you will need to buy tools and accessories. There are also numerous guides to the essential tools for newbies. Don’t buy everything in one go but keep them in mind as you start your printing journey. Some items like masking tape may seem like a “duh” but your printer might also come with BuildTak style plate making it relatively unnecessary (mine did).
Slicing software & Settings Matter
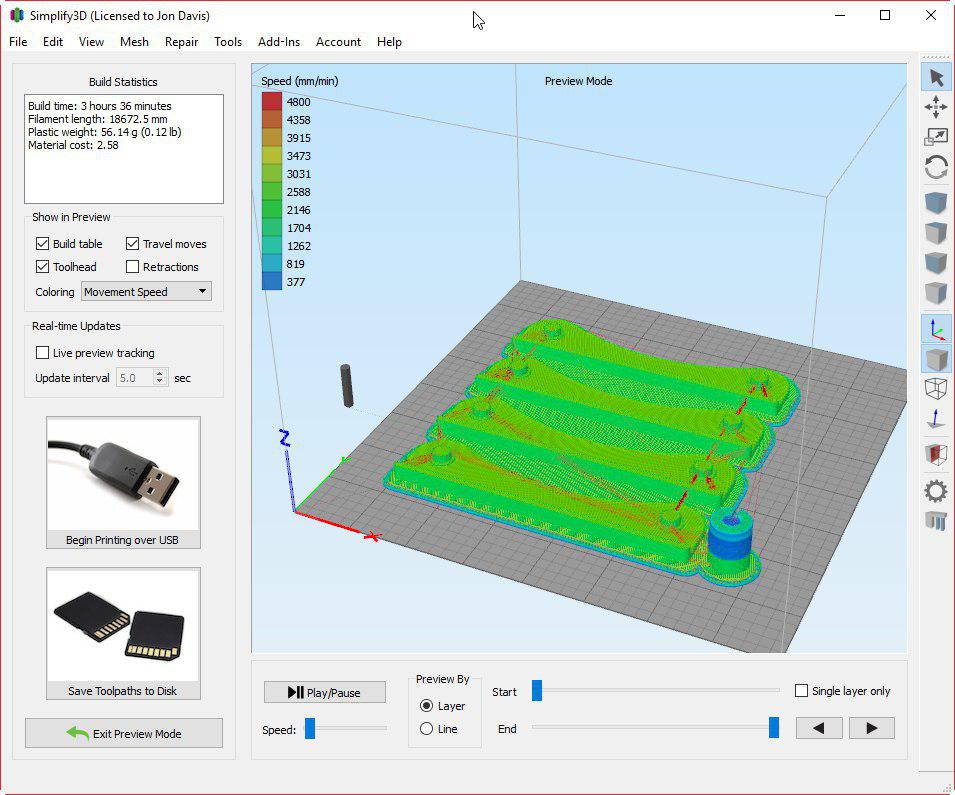
To print an object one needs to get an STL file (either that they made, or downloaded from somewhere like Thingiverse), then put it through a slicer which produces a gcode file which can then be printed. The important part of this process is the slicer software which actually has all the “smarts” (gcode is literally “print head go here, turn on, go there, move up, turn off”). Different slicing software will produce vastly different results on the same printer. (Un)Fortunately there are a number of options and most of them are free — so research or experiment to figure out which works best for you.