Over the last two weeks or so that I’ve had my printer, I’ve learned a number of things. I haven’t had a chance to put “to paper” (or… blog, as it were) all of them, however last night I did my first print in PETG thought it was worth a quick mention while the hot end was still warm. Possibly the most important thing I’ve learned is that most people stick to one filament type and not jump from PLA to ABS to PETG like a bunny on crack. Turns out you need to refine your settings and do some calibrations, so I’ve learned a thing or two about that along the way.
So first off, what is “PETG“? Well PET (Polyethylene terephthalate) is supposedly “the most widely recycled plastic in the world“, basically its a food safe plastic that some of your drink bottles are made from. PETG is an upgraded form of PET that is even more durable. So in short PETG is a tough and durable filament that is odorless while printing. Rigid.ink has a lot more detail. At the end of the day it’s supposed to be nearly as easy to print in as PLA while having much of the strength of ABS (and in certain cases COULD be food safe).
Why did I get PETG? Well I’ve got a list of upgrades I want to do to my Monoprice Maker Select v2, a number of which involve the bed or hot end. Apparently if you print upgrades in PLA that are going to be subjected to lots of heat, they tend to not fair so well (something about melting… imagine that). My reading indicated ABS (which is why I bought that) or PETG (and bought that too) was the answer. Seems like most people have ABS so that’s a really common suggestion but PETG is starting to get the love. It wasn’t hard to find
numerous forum threads suggesting PETG over ABS (situation depending, of course).
So what happened? Well I found a great post on the configurations to
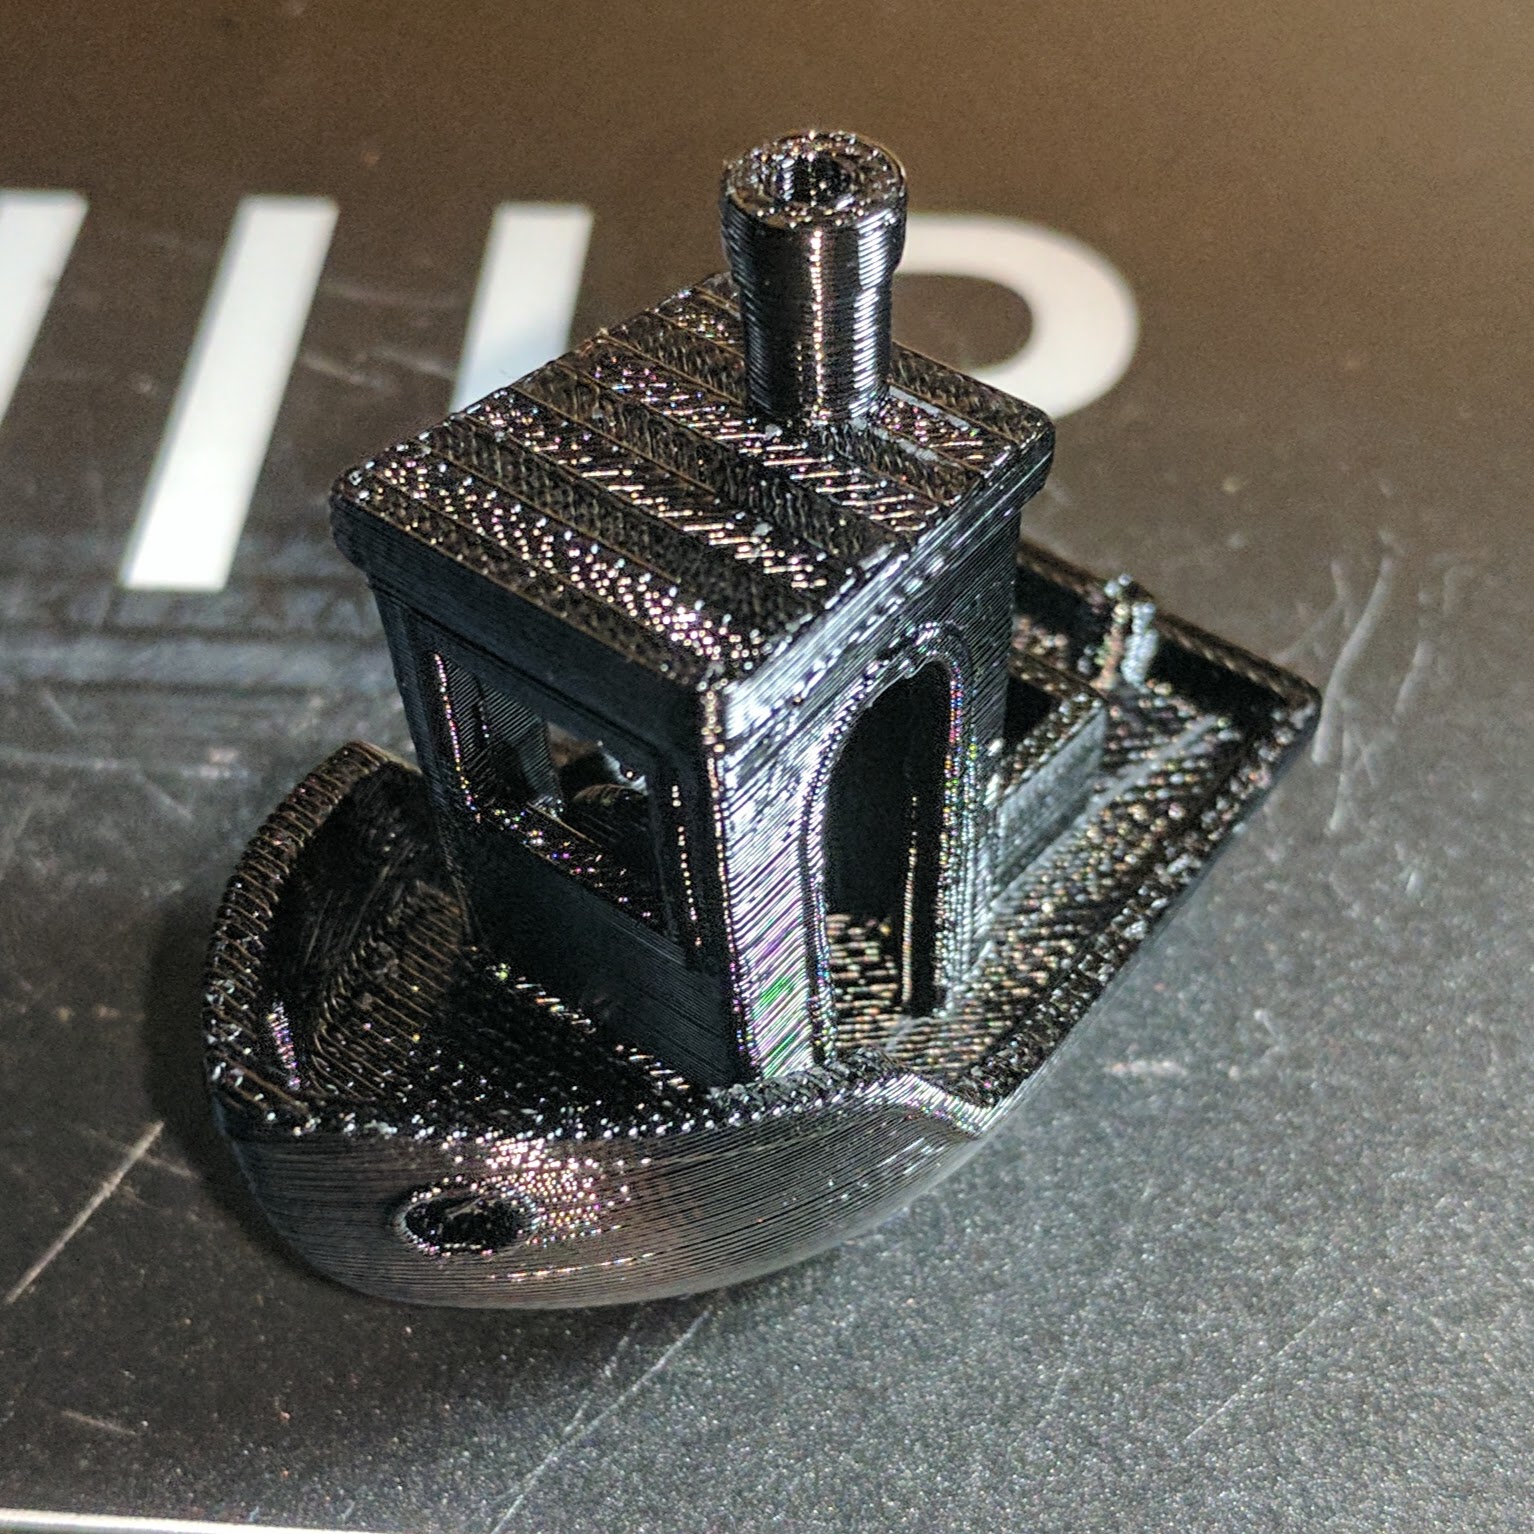
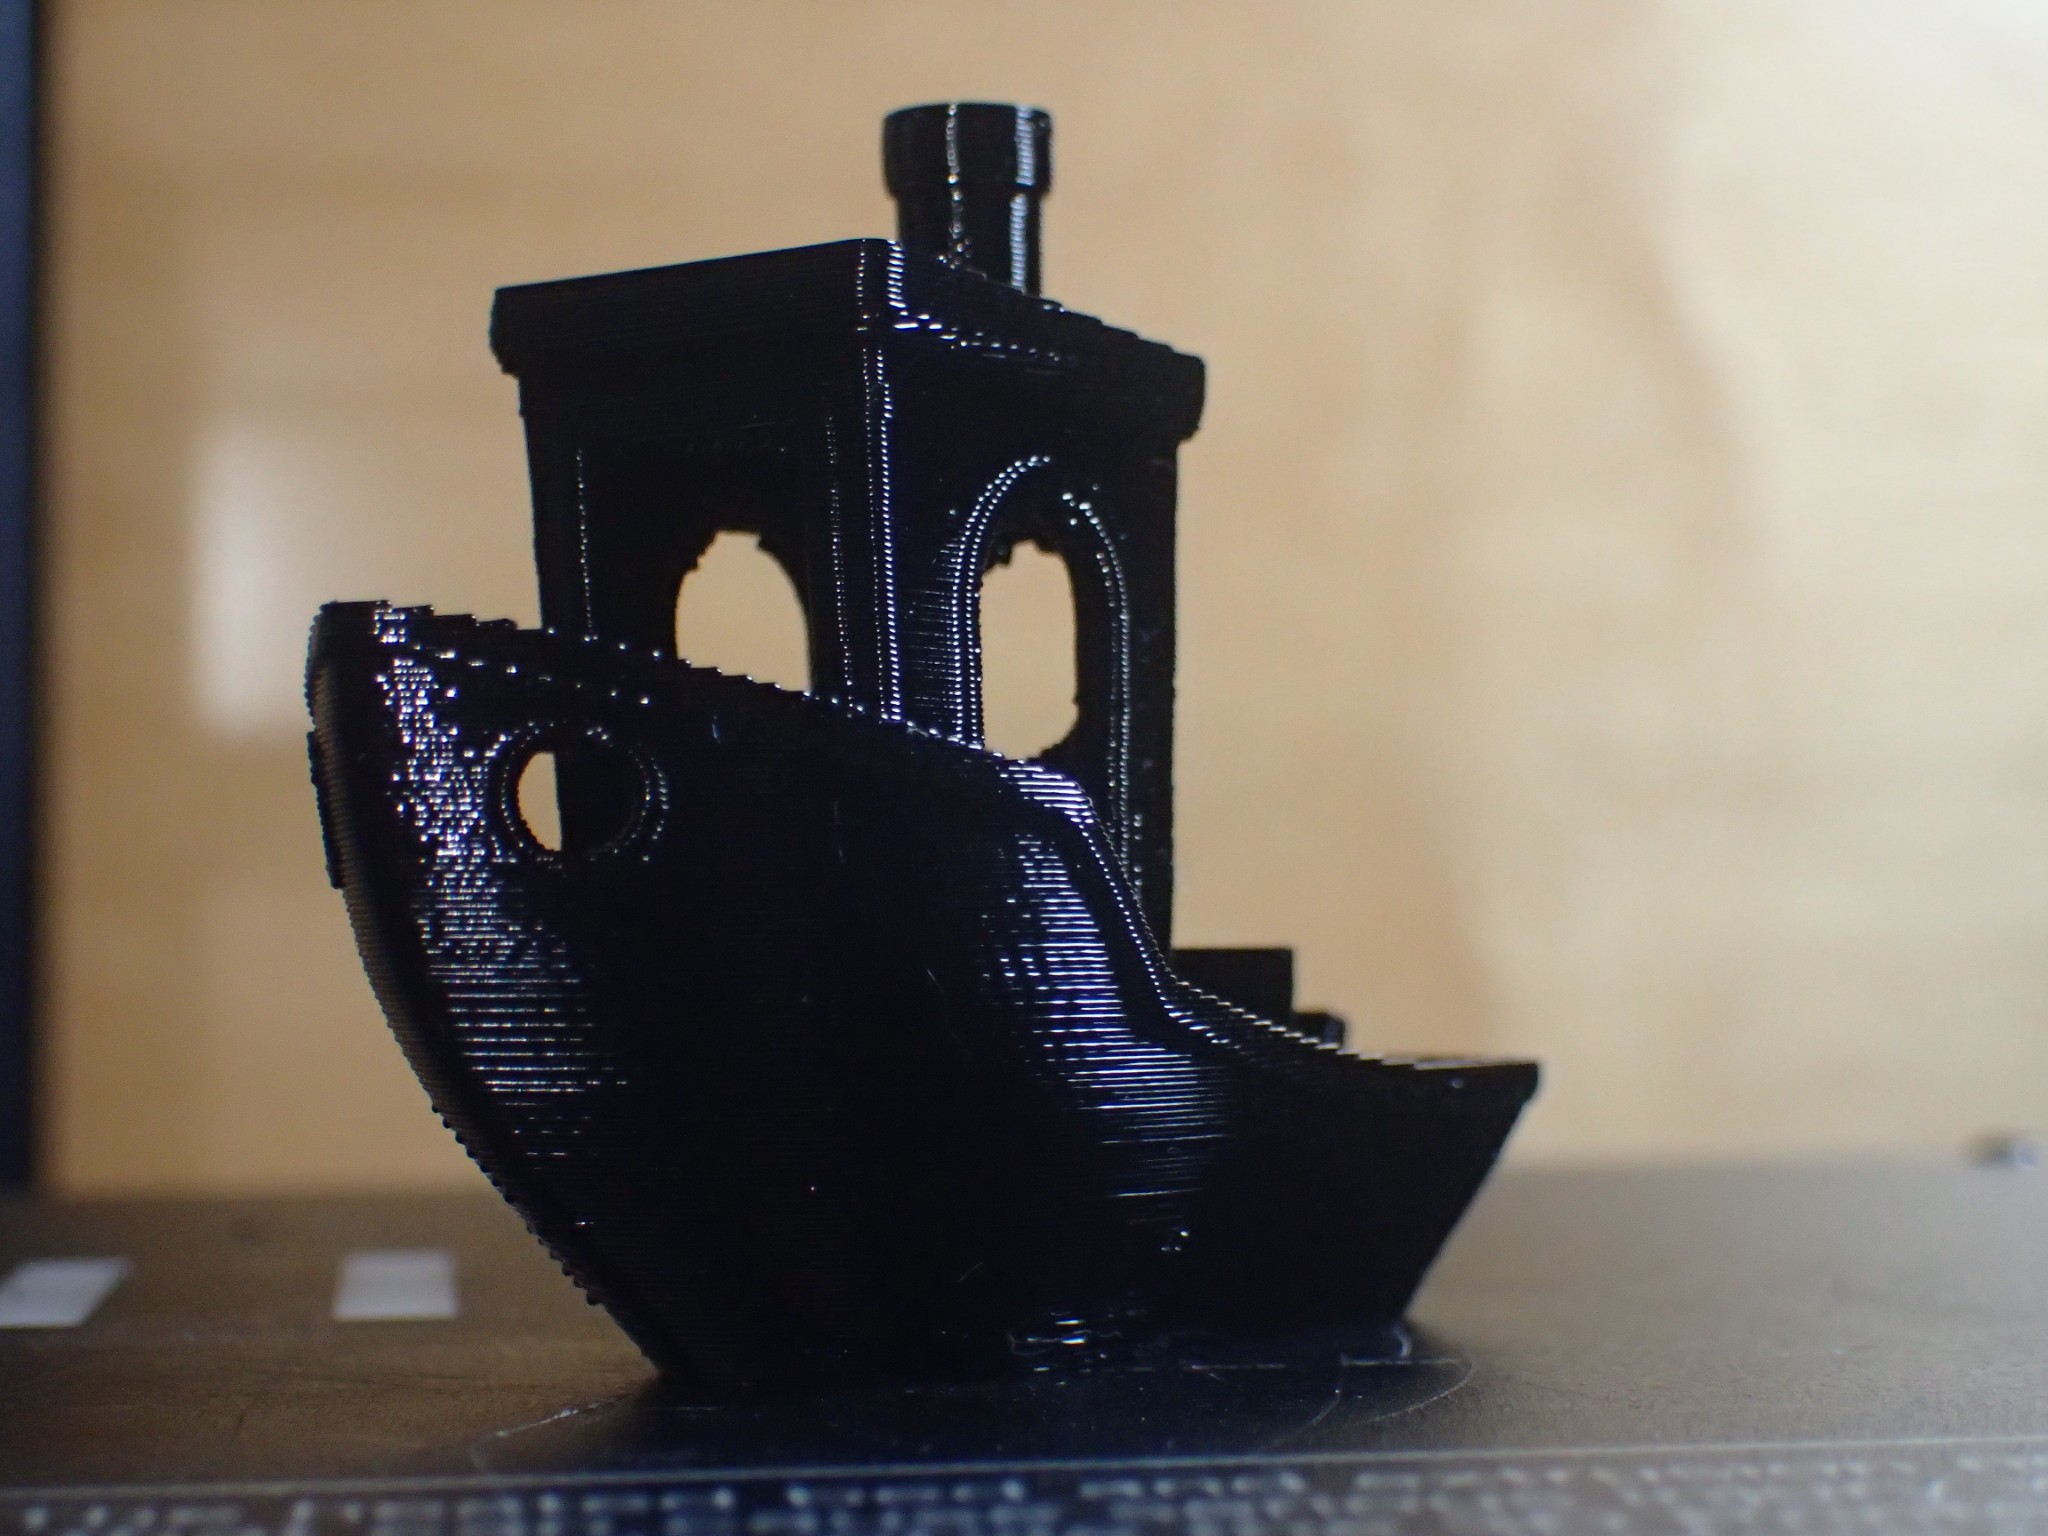
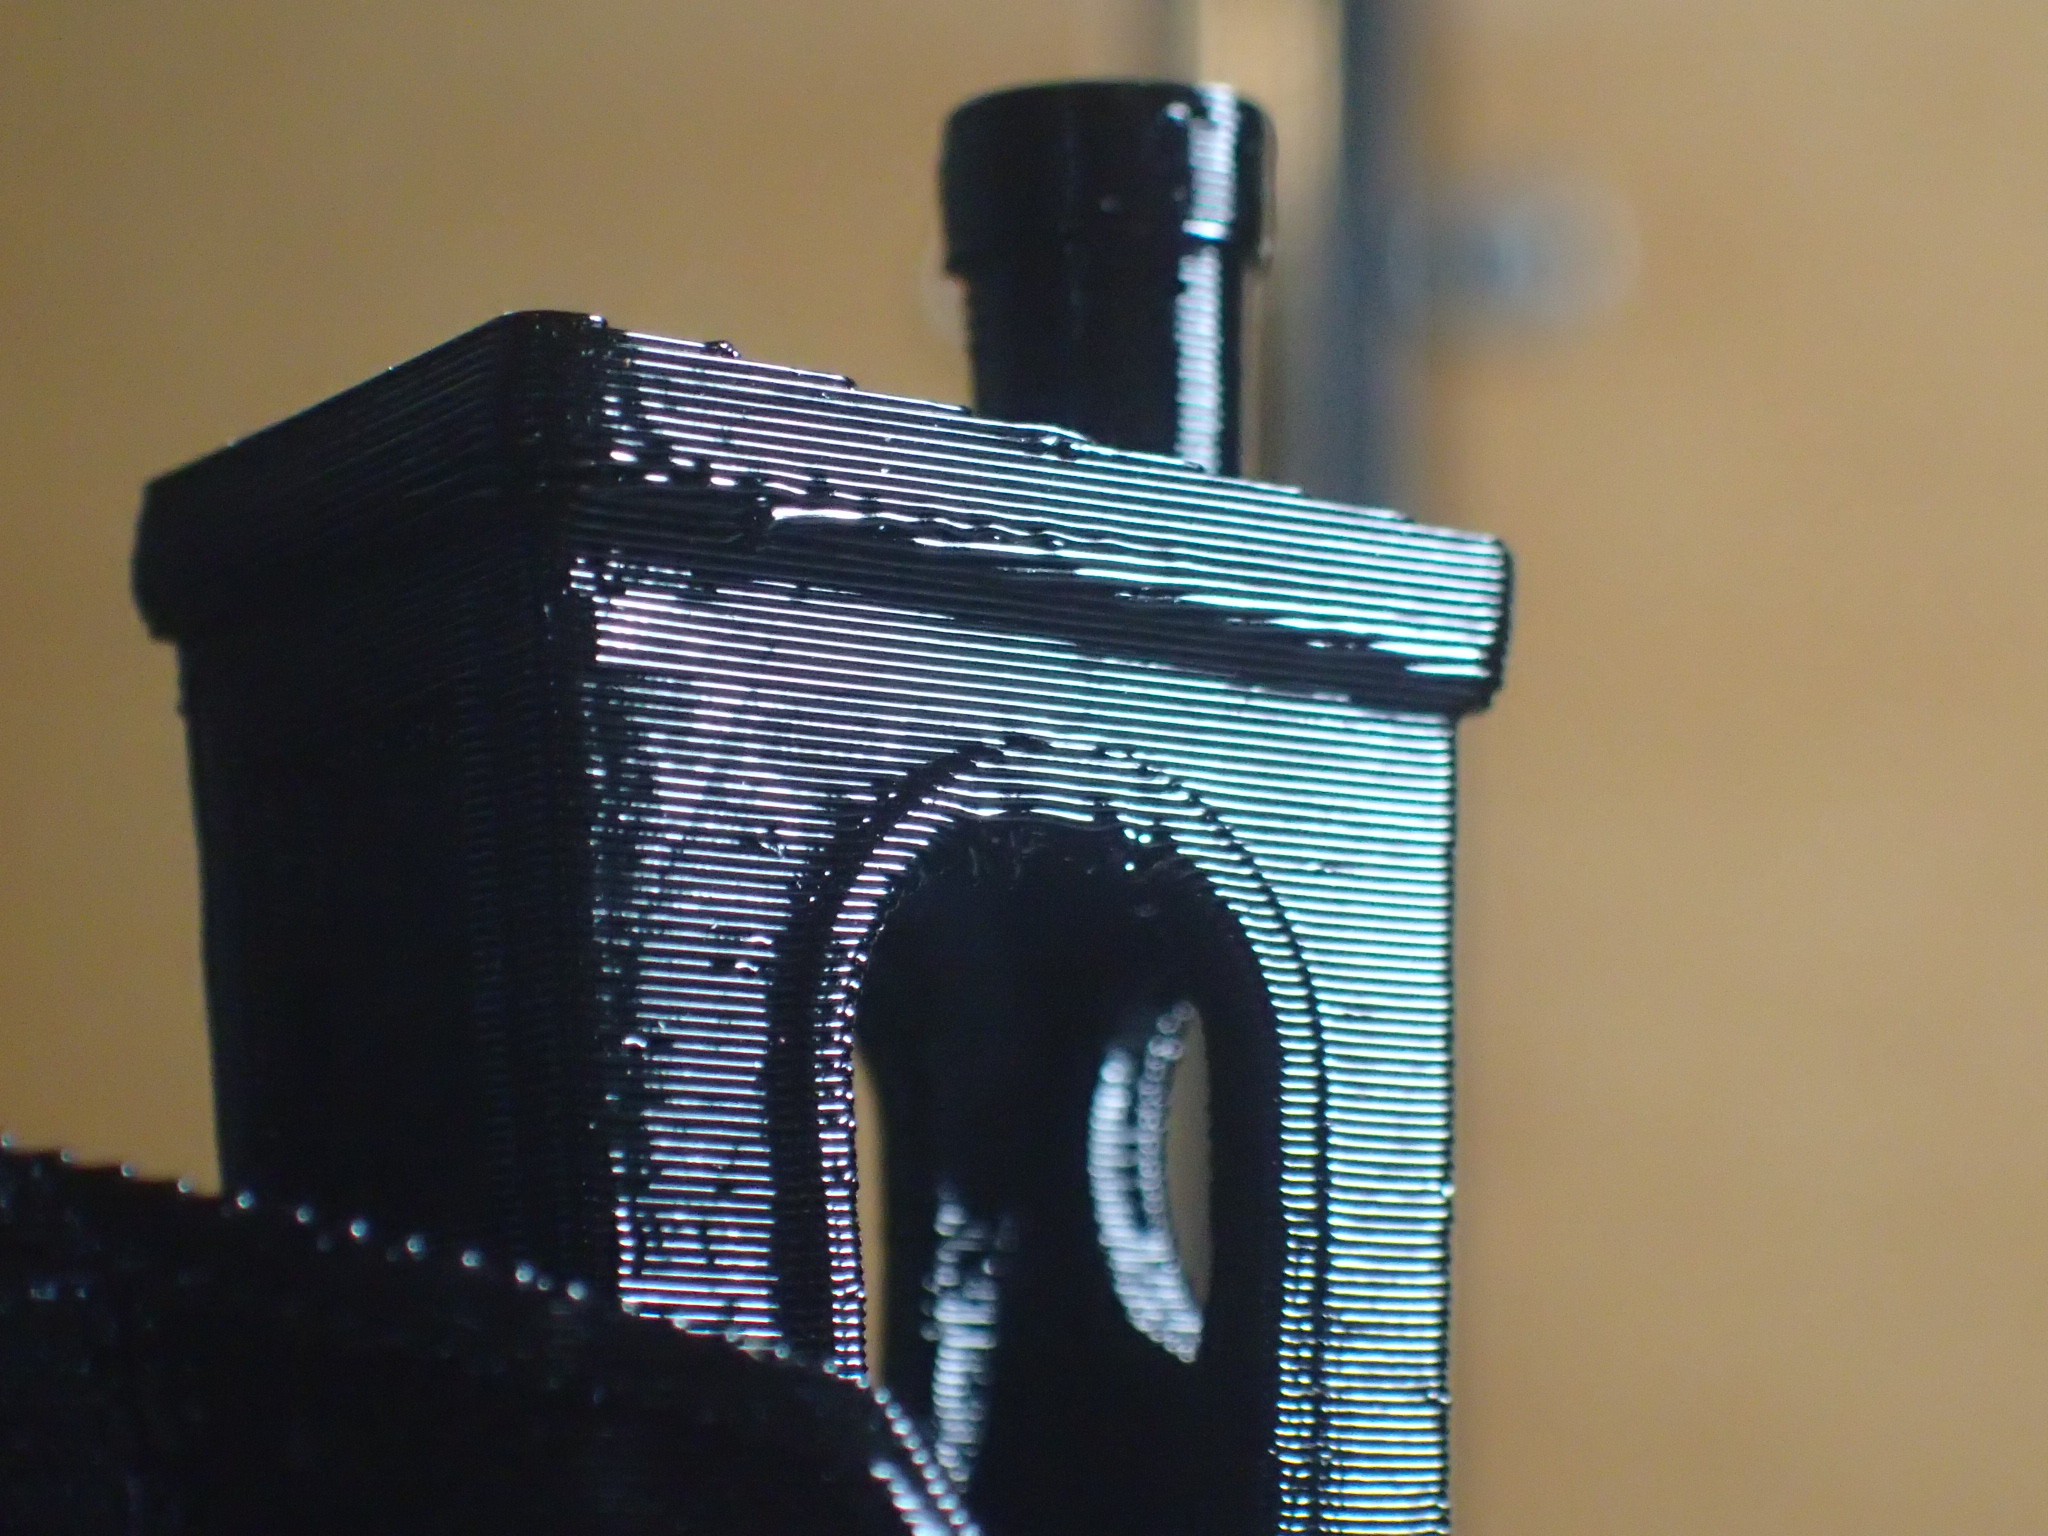
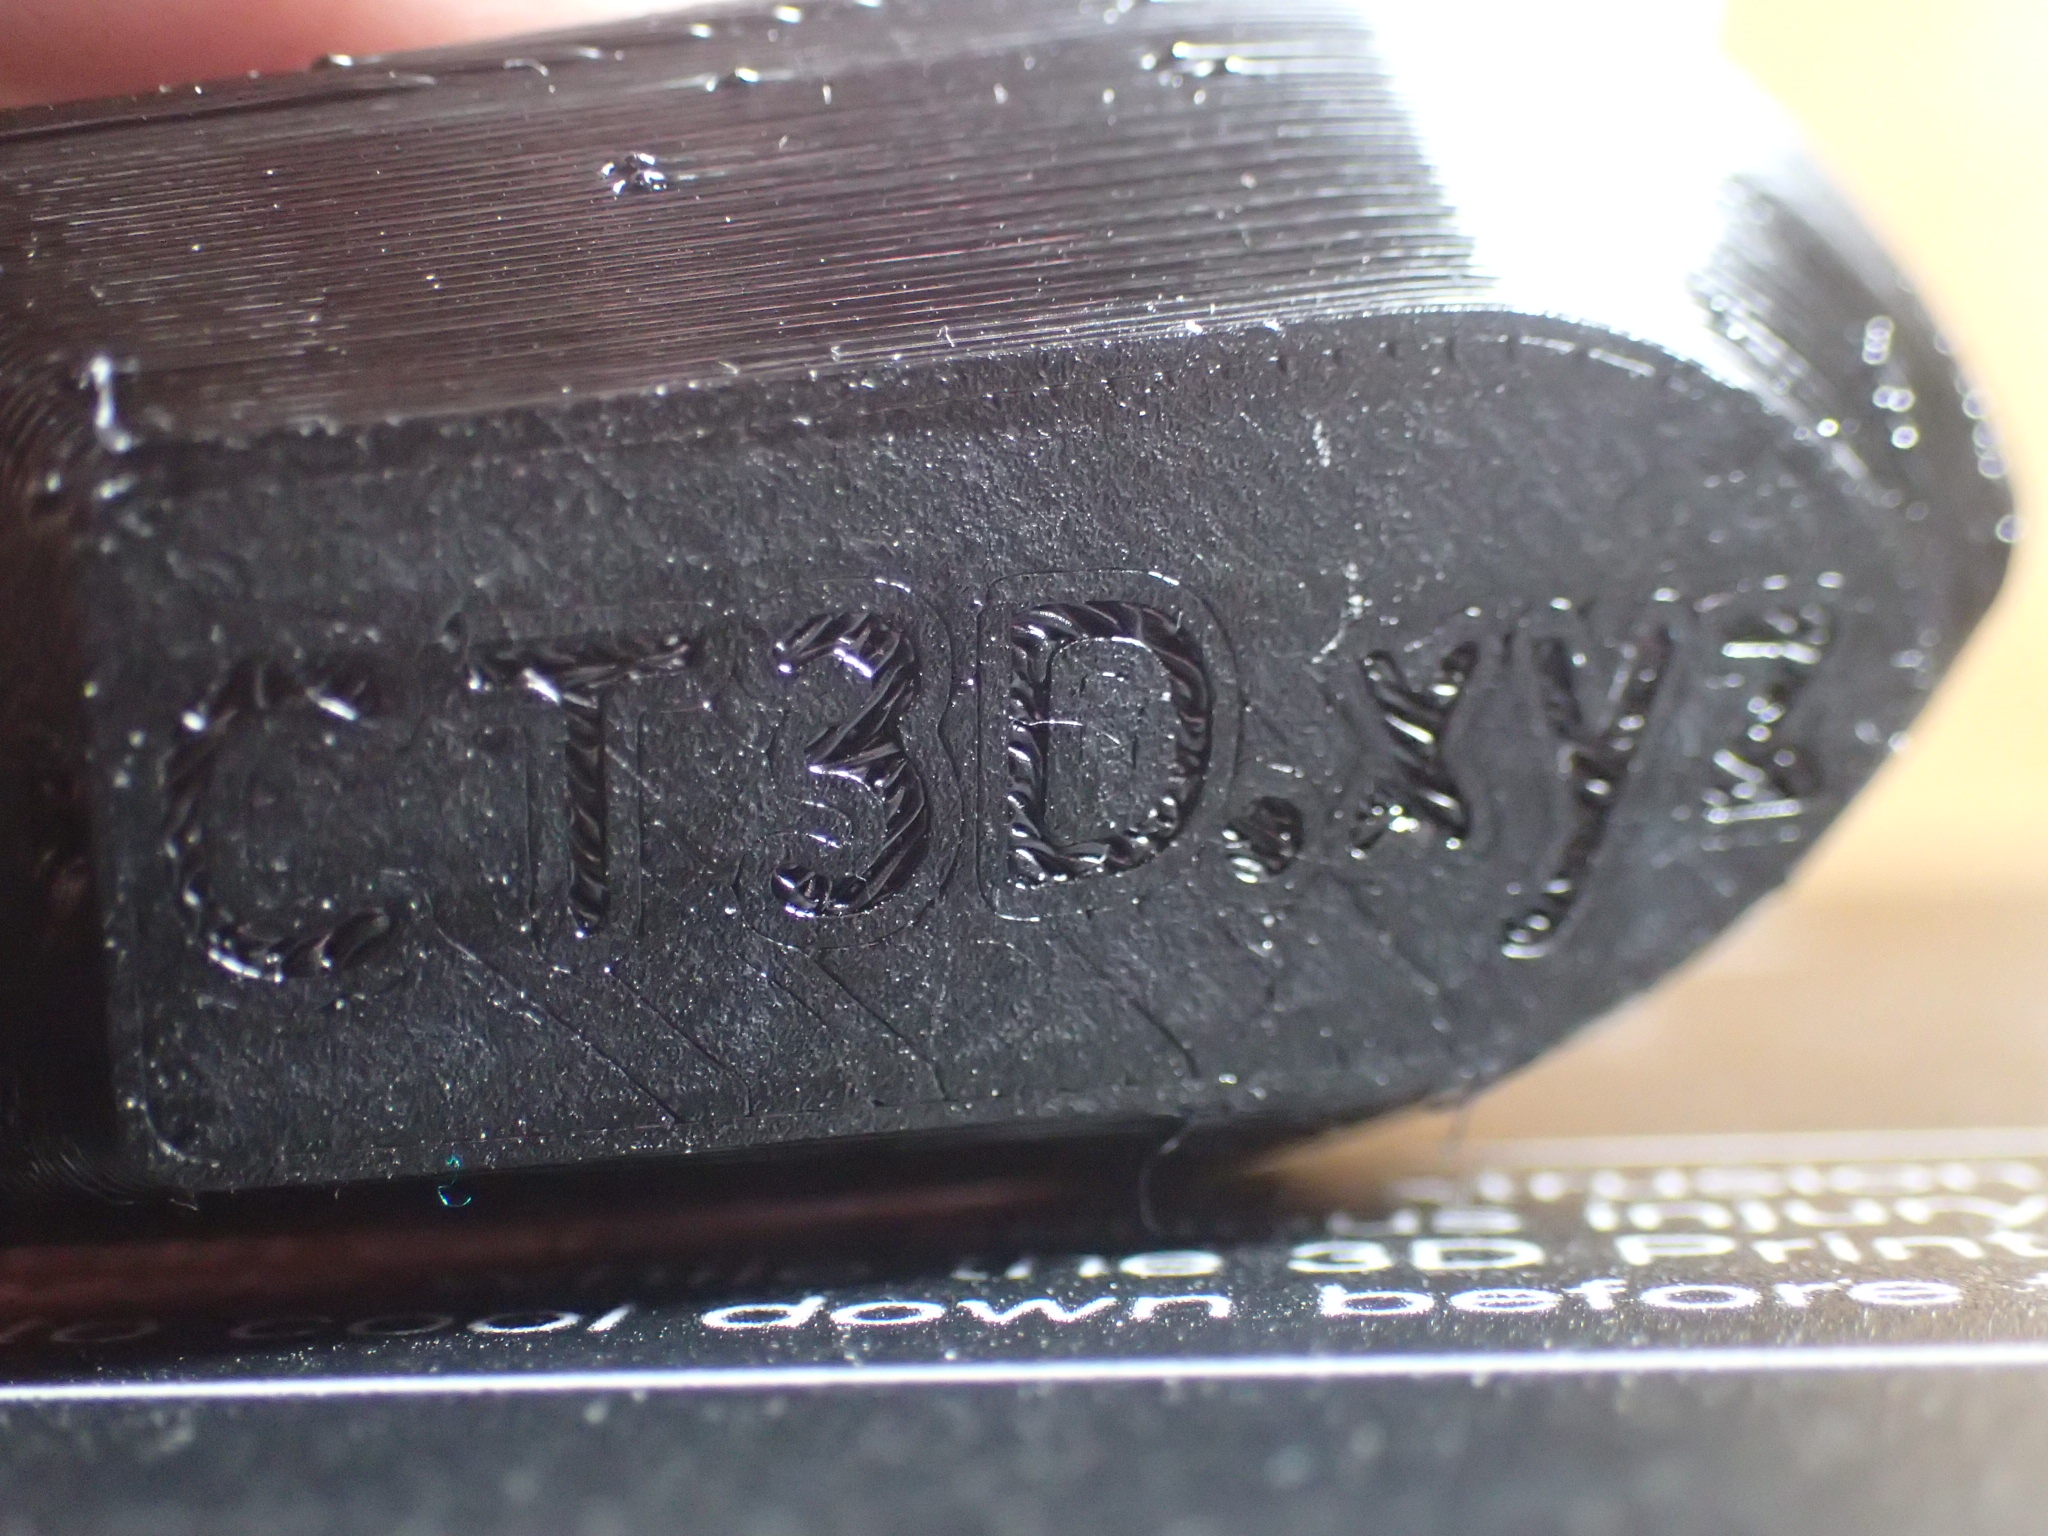
use for PETG in Simplify3D (thank gawd, because there was no “PETG” dropdown and a newb like me has no idea what settings to use). During those configuration instructions I also followed the linked directions for z-axis calibration. It’s a miracle tool… with 2 prints of just 5 minutes each, I could get my first layer adhesion almost exactly where I wanted it. The results of those settings and that calibration was #3DBenchy number 8 — which you see pictured in this blog entry.
Is it a perfect print? Nope. There are some signs of
bridging at the tops of the arches. There is also some blobs/zits that you can see around the outside of the hull. Unless you’re a 3D printing expert quality inspector or trying to use this for art, it’s more than sufficient for a first pass. Since the quality is “good enough”, my next print may very well be my first hot upgrade, which is a shroud for improved fan cooling. That upgrade should help my print quality and once combined with some more tweaks, Benchy #9 may be even better!
Oh, and in case I haven’t conveyed the information correctly. I’d strongly advise anyone else following my journey not jump around to different filaments like I am. Previously I was working on an under extrusion issue while using white PLA. This same issue was not seen in the PETG — so fixing one doesn’t help the other. Additionally different colors and different spools of the same filament may behave differently. Even along the same spool of filament, poor quality control can lead to your 1.75 mm filament being larger or smaller (which will give you different types of problems). Truly quality filament providers seem to be the ones that provide the best consistence across the same and different spools.