After the adventure that is learning about and buying a 3D printer, then learning how to print the hard way, I was left wanting more. Kit printers are a great start and I knew there were many options for upgrades. However the more I researched the upgrades, the more I wanted to understand 3D printing better from the ground up. Only one way to do that… the hard way … AKA build one from nothing more than some plans found on the internet. So starts my adventure with the Hypercube Evolution (HEVO).
There are plans for many different types of printers. The research and decision making process on “Why HEVO” could cover a half dozen blog entries alone. I will say that of the many different mechanical arrangements of 3D Printers, the CoreXY style caught my eye. Of all that I looked at, the HEVO had a good community and a really interesting design. I probably could have spent a few more weeks researching, but I decided “this was the one”.
Now it’s been a few weeks since I started this process, so I’ll provide a brief timeline of what has happened with more detailed posts going forward in (hopefully) near-real-time.
July 27th — Placed an order for the full Bill Of Materials (BOM) from a vendor on AliExpress. This vendor came well recommended from the Facebook group and the price was good. Especially important to a novice like myself was that the BOM was everything in one order — Otherwise it would have been ~40 different parts to order.
August 7th — Ordered a Titan Aero Hotend (hotends are not included in the BOM) and Duet Wifi (32bit controller instead of the default Arduino) from Filastruder. Unfortunately as of this writing we’re still working on getting all the correct parts. Some were missing from the initial shipment, some wrong ones sent. Then I sent back some wrong parts.
August 11th — BOM parts from AliExpress delivered. Not bad for making a transoceanic journey. Doing the full inventory (to make sure all of the parts from the BOM were in the box) was significantly time consuming. However it’s worthwhile in advance to double check that pieces aren’t missing that’ll be needed later.
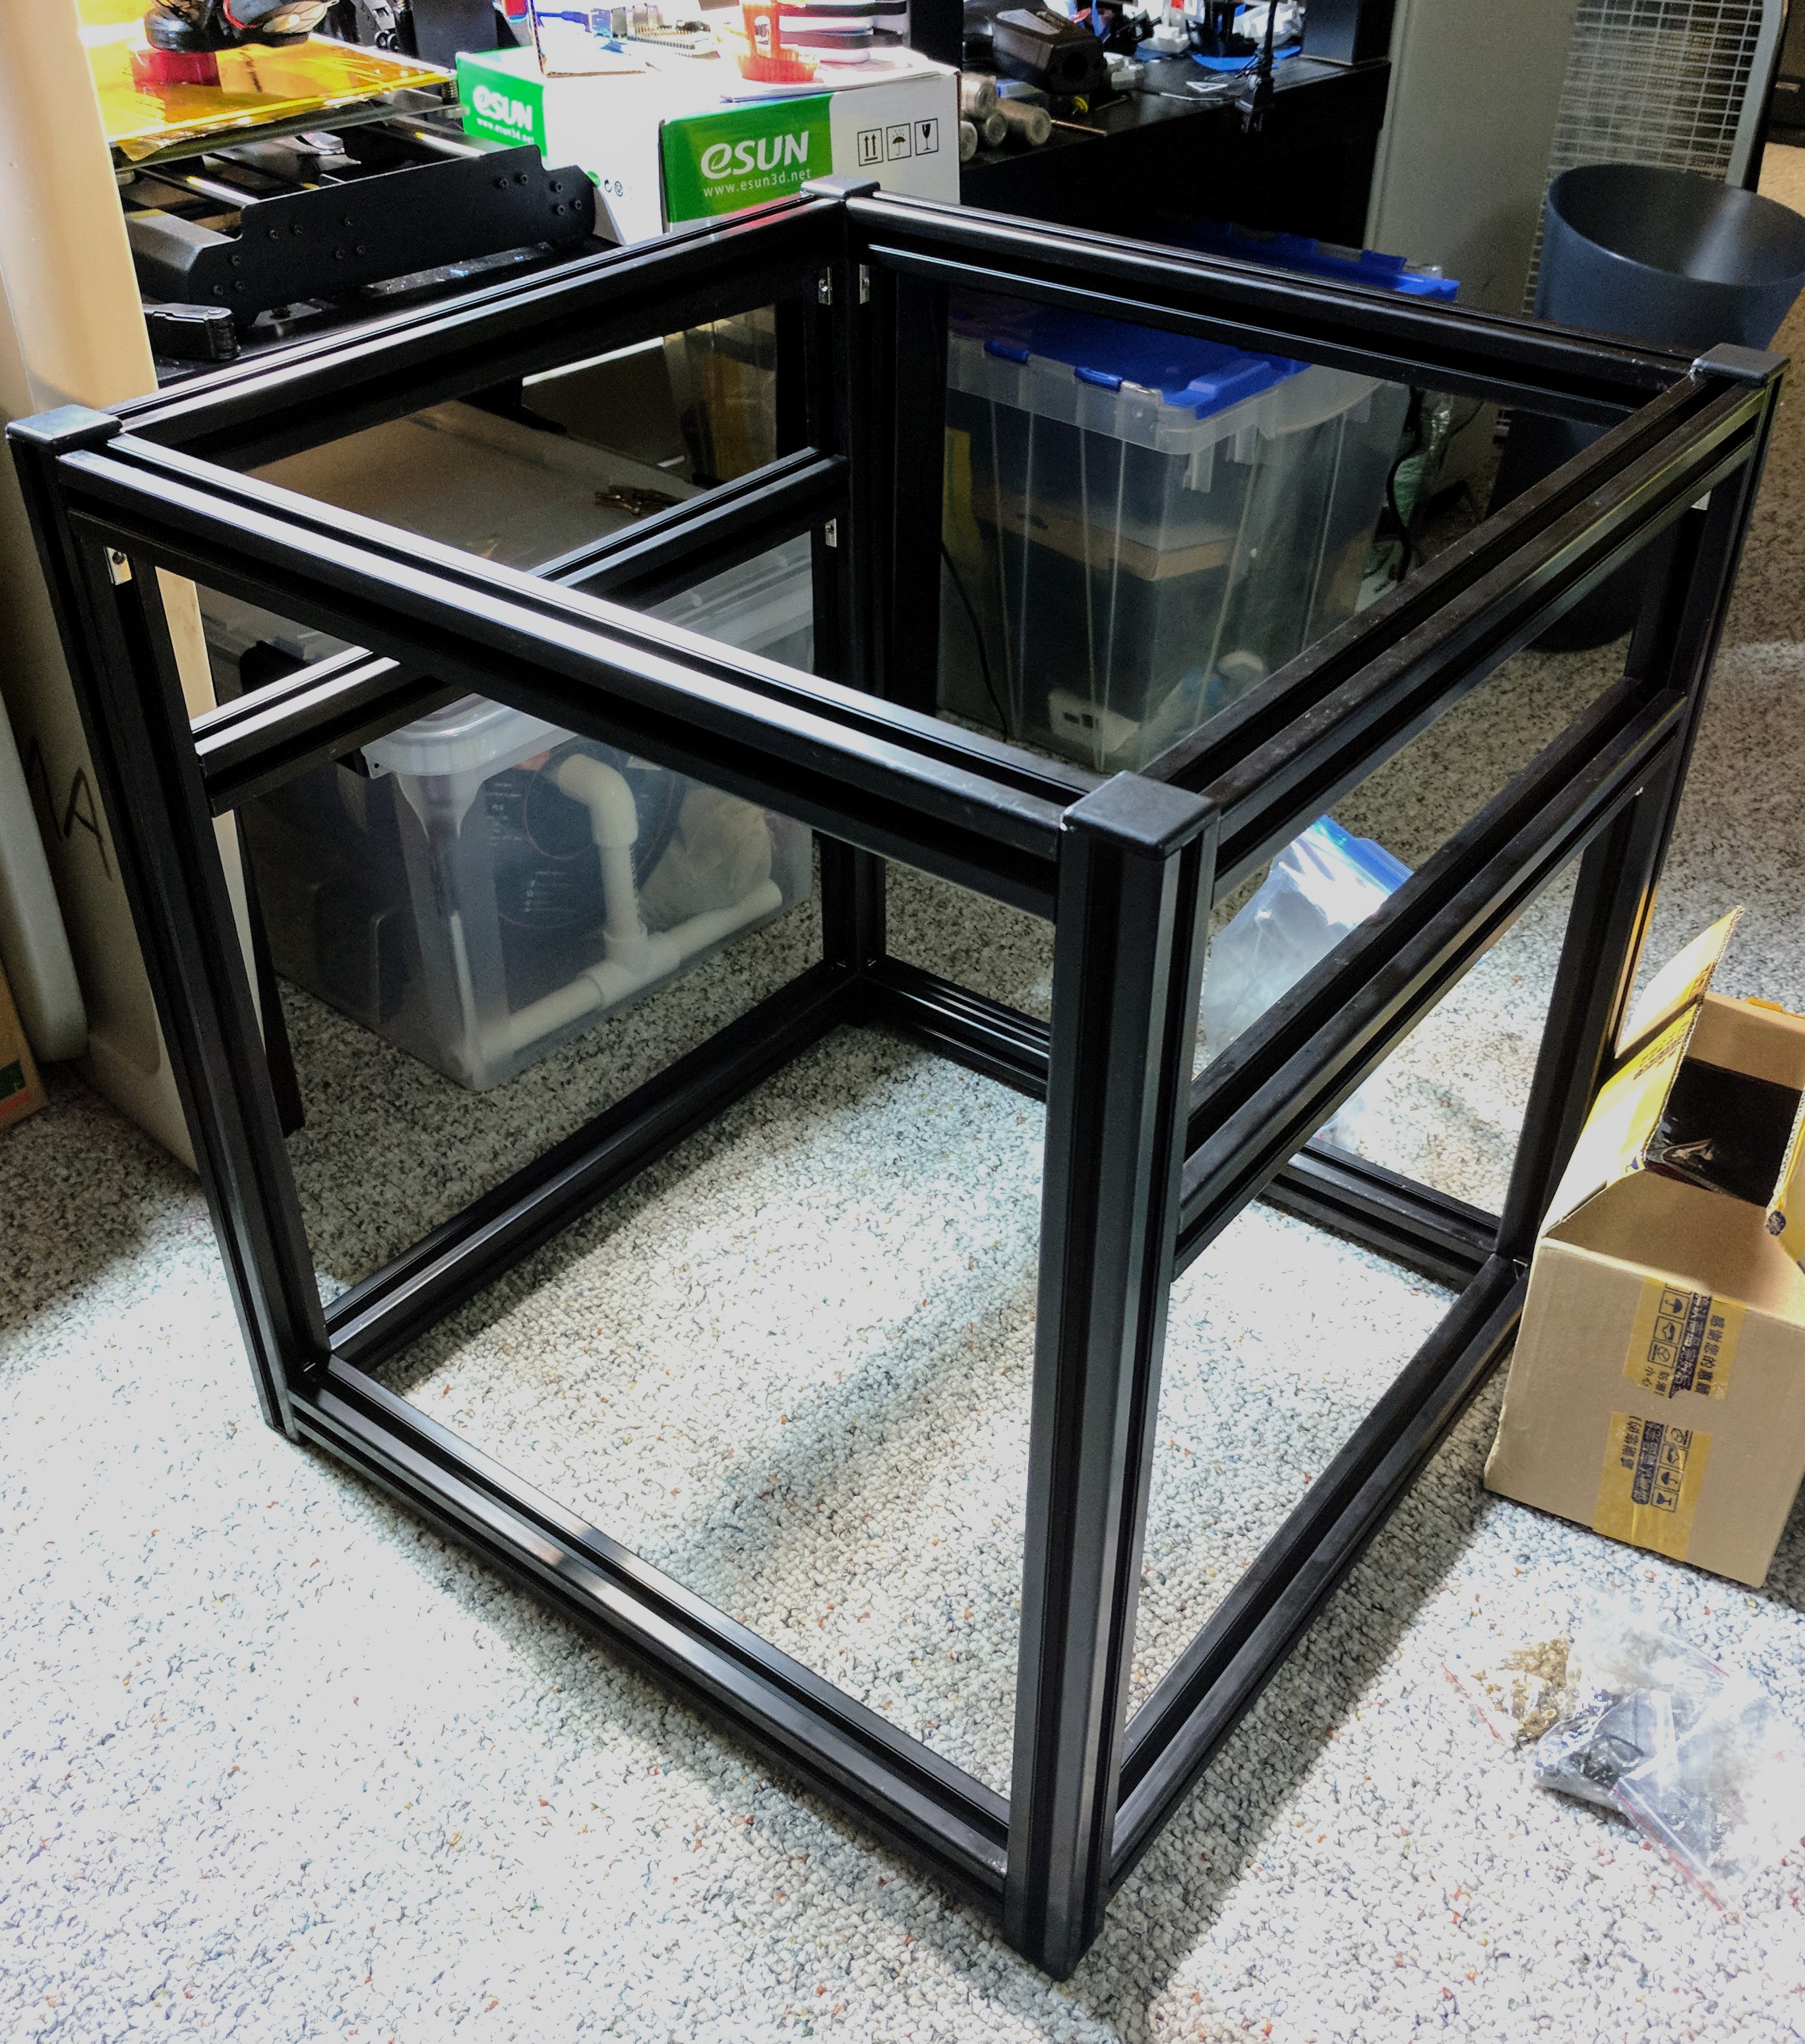
August 15th — The main body pieces have been assembled (as shown in the photo above). Once I figured out what went where, it only took about 45 minutes. Later I would find out that I did it wrong and have to partially disassemble/reassemble.
August 22nd — Finished printing the last of the 3D printed parts. Yes, I’m using a 3D printer to print parts to build another 3D printer — very meta.
In the last few days I’ve been working on cleaning up the 3D printed parts, adding the brass knurled inserts where required and generally trying to understand what I needed to be doing next. Taking things apart repeatedly and putting it back together is sort of annoying, so I’m trying to be careful moving forward. Also some of the electrical work has been tested out and some extra connectors ordered. Tomorrow I might even have a video!